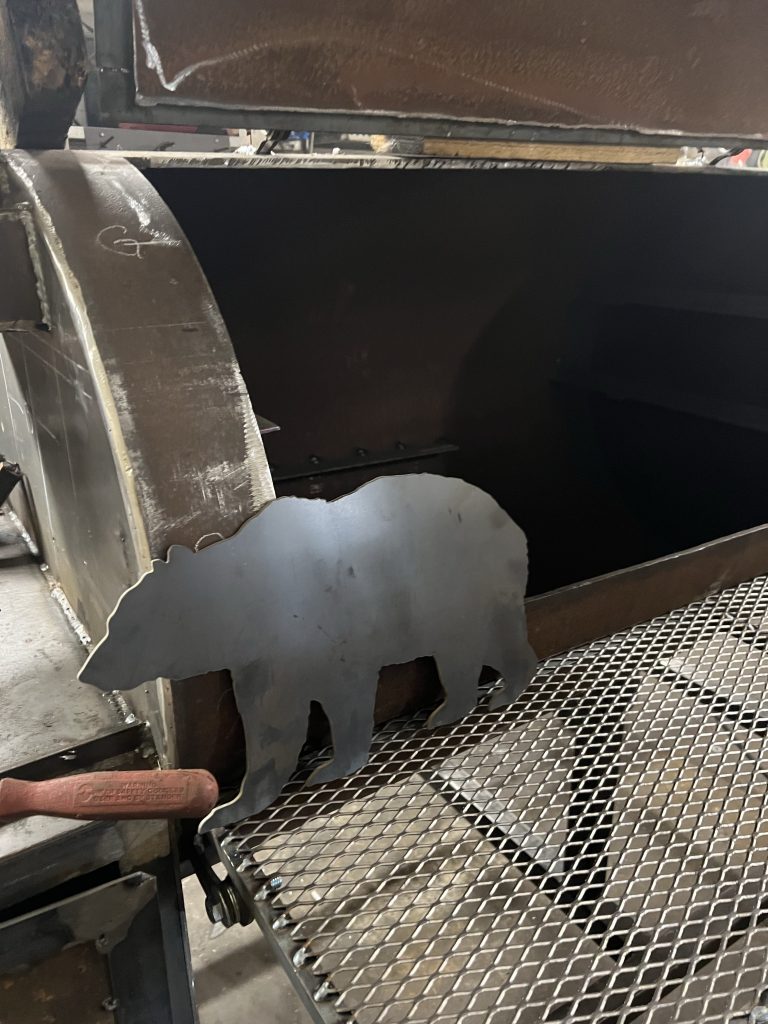
From Dave’s profile it seems Dave enjoys the outdoors and why wouldn’t you living in Elkford BC! Snowmobiling and playing in the snow. Dave’s build is similar to most other than Dave has required a foldable front counter to be installed. With an extra large chamber and side grilling station Dave should be cranking out excellent BBQ!
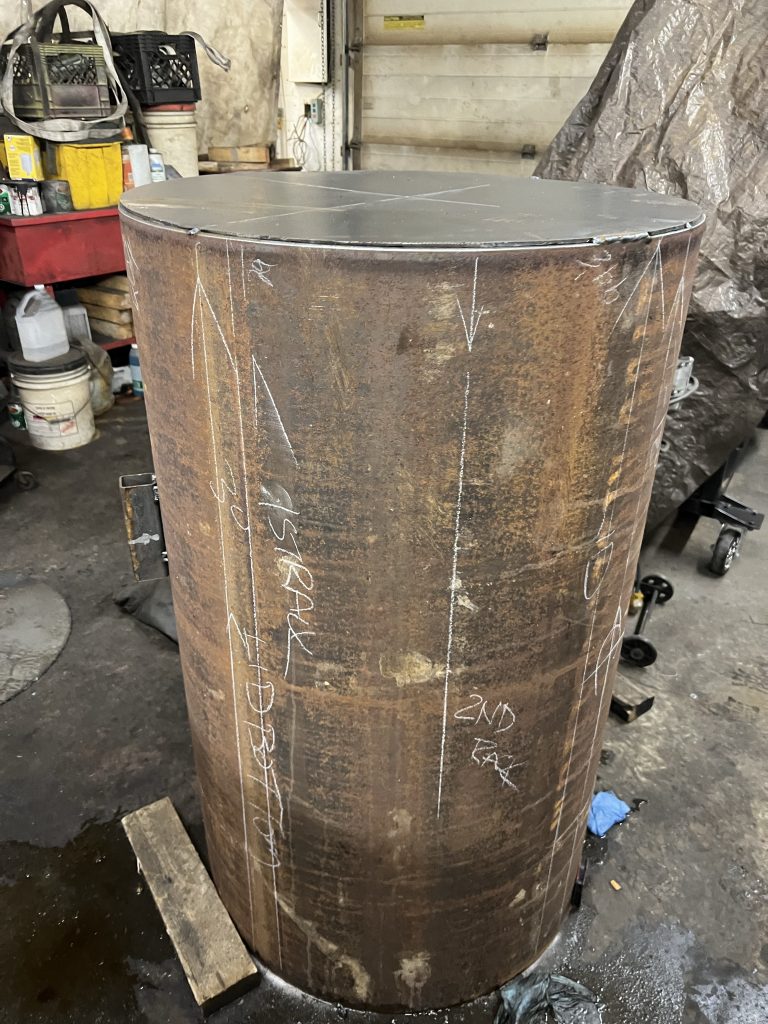
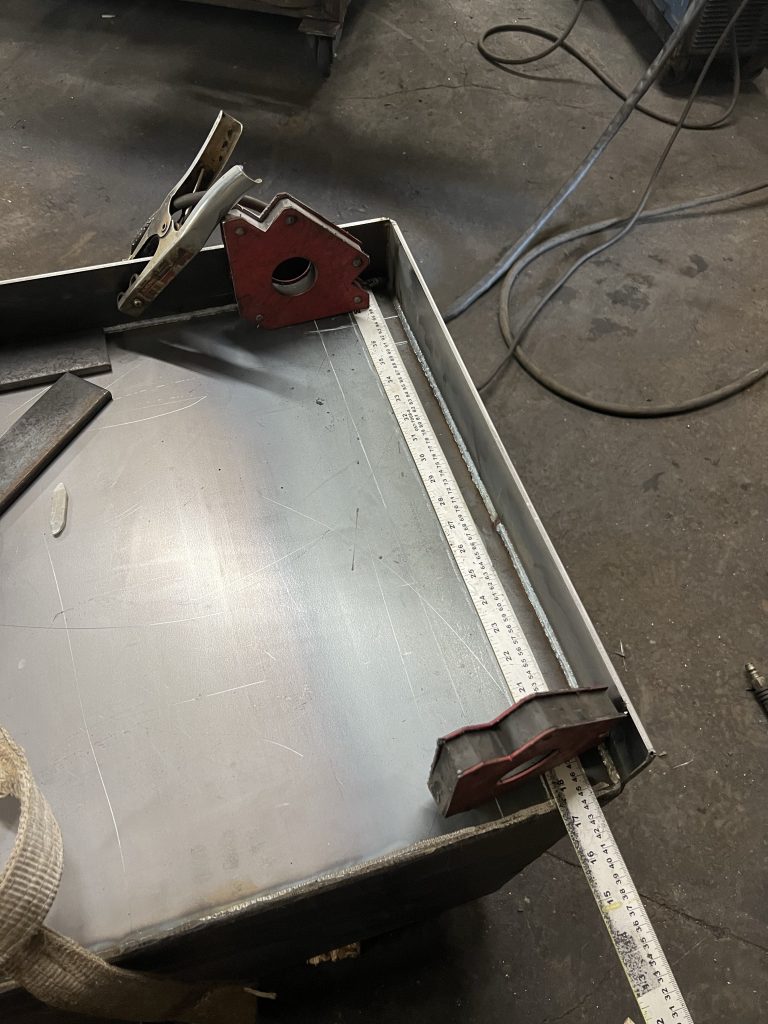
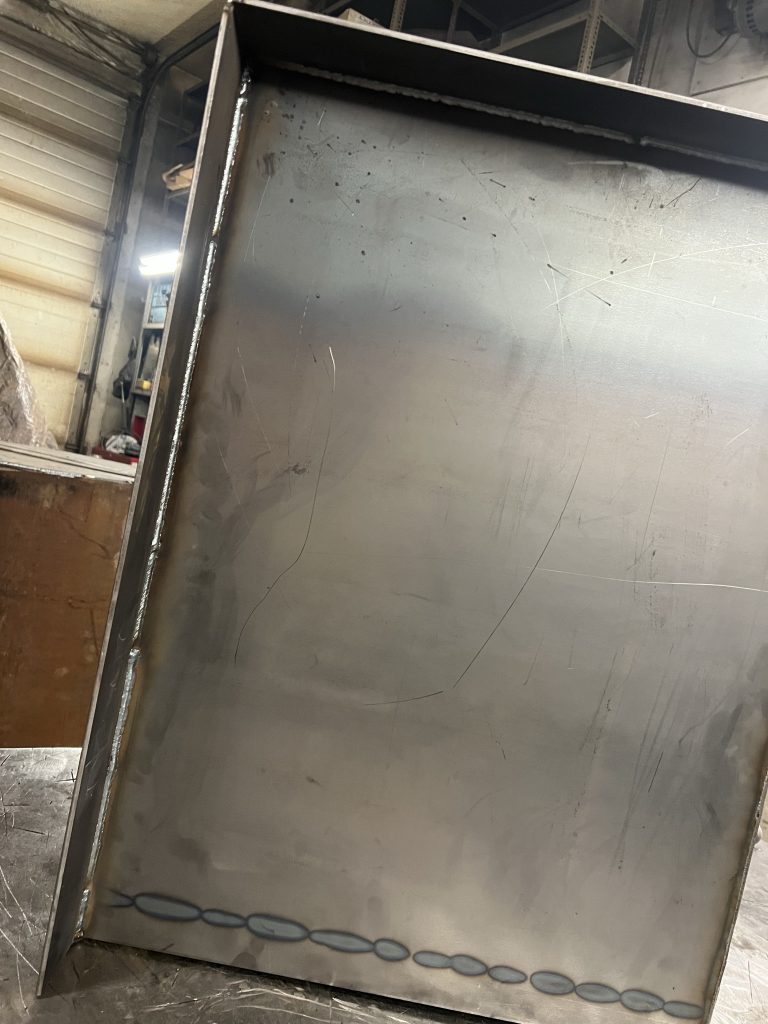
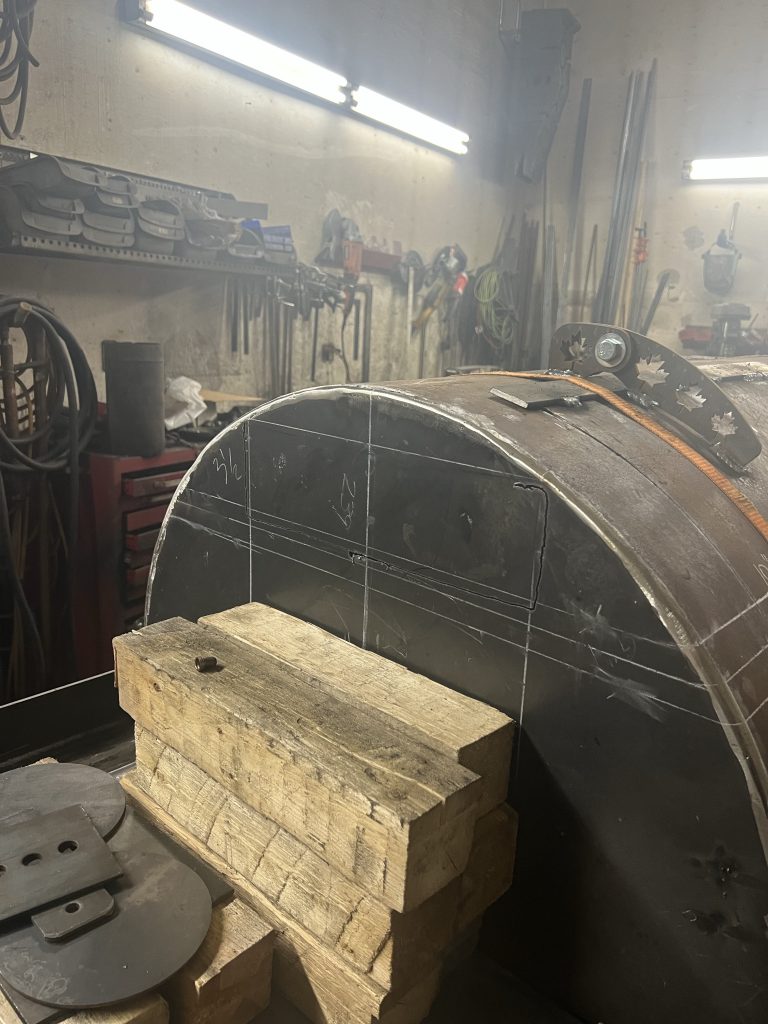
Laying out all the lines and grate locations.
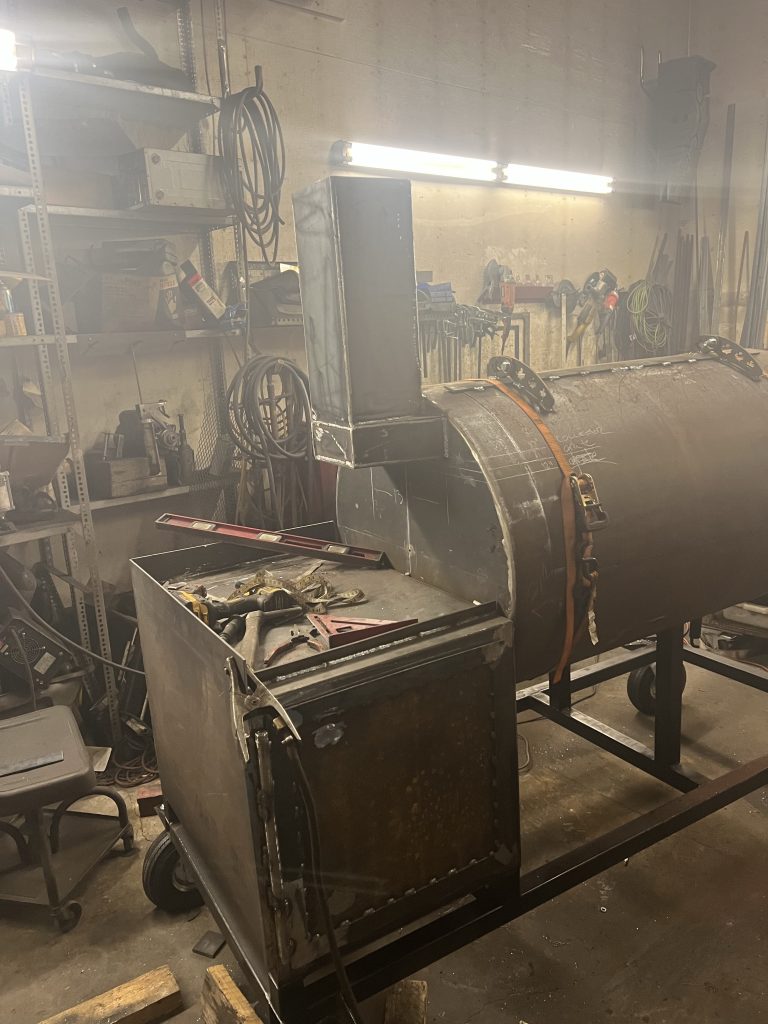
Typically I build the firebox then the main chamber. Make the cut tomorrow for the throat in the main chamber then marry the firebox to the main chamber. Once these two pieces are welded together and squared to each other then I’ll start building the frame to support this huge big bear smoker. After the frame is built next comes wheel supports and then we start cutting the main chamber door opening and trim the lid and keep everything square and air tight as possible. After the lid and hinges are set it’s time to cut the opening from the main chamber to the firebox. Next is the collector for the 7” stack which will be a square stack not a round stack like you typically see down south. I build square stacks when I want to keep the stack length down in size. After collector and stack are finished we’re in the home stretch to build the grates and drains, next after grates is temp gauges, fold down table, weld up the grilling grate, grind out the entire body, build oak handles and finally paint out and wait for Dave to travel from BC to snowy Alberta for pick up! Then boom another smoker build for Brent but this one will be much smaller in design and should sell for under 2000.00.
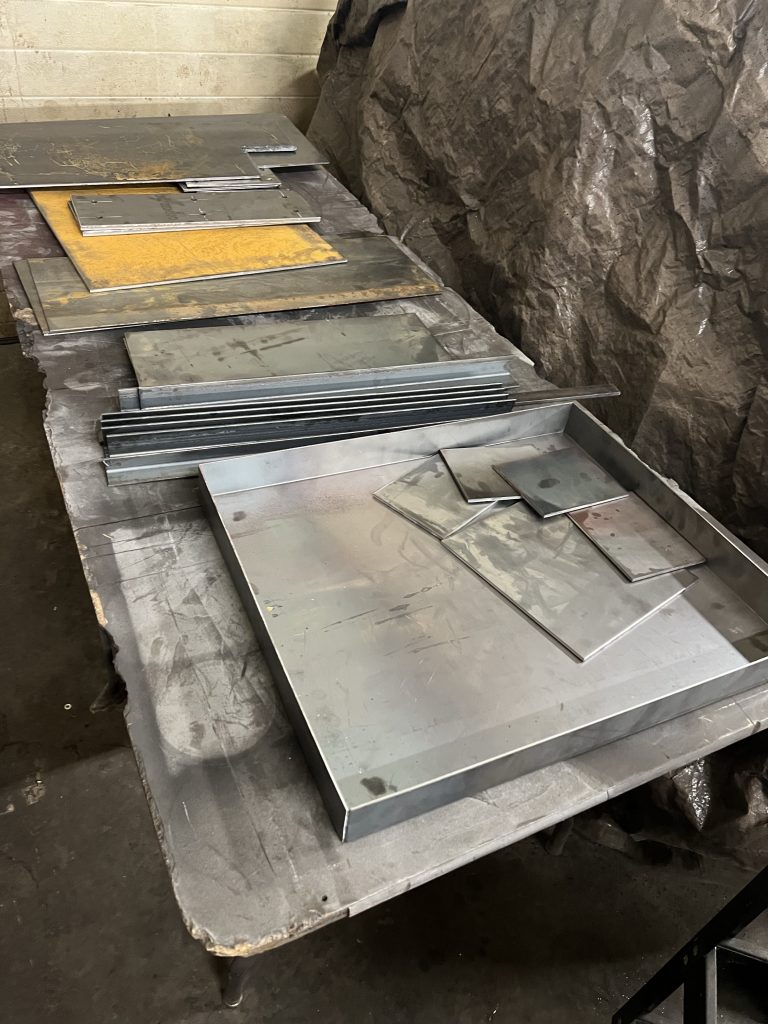
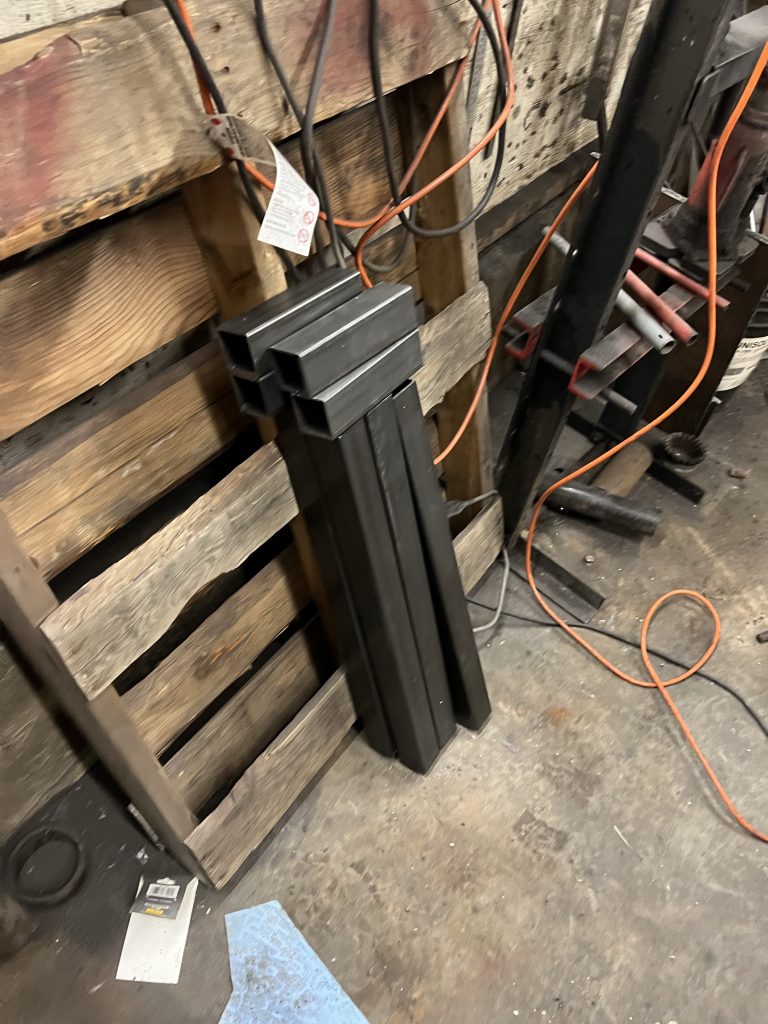
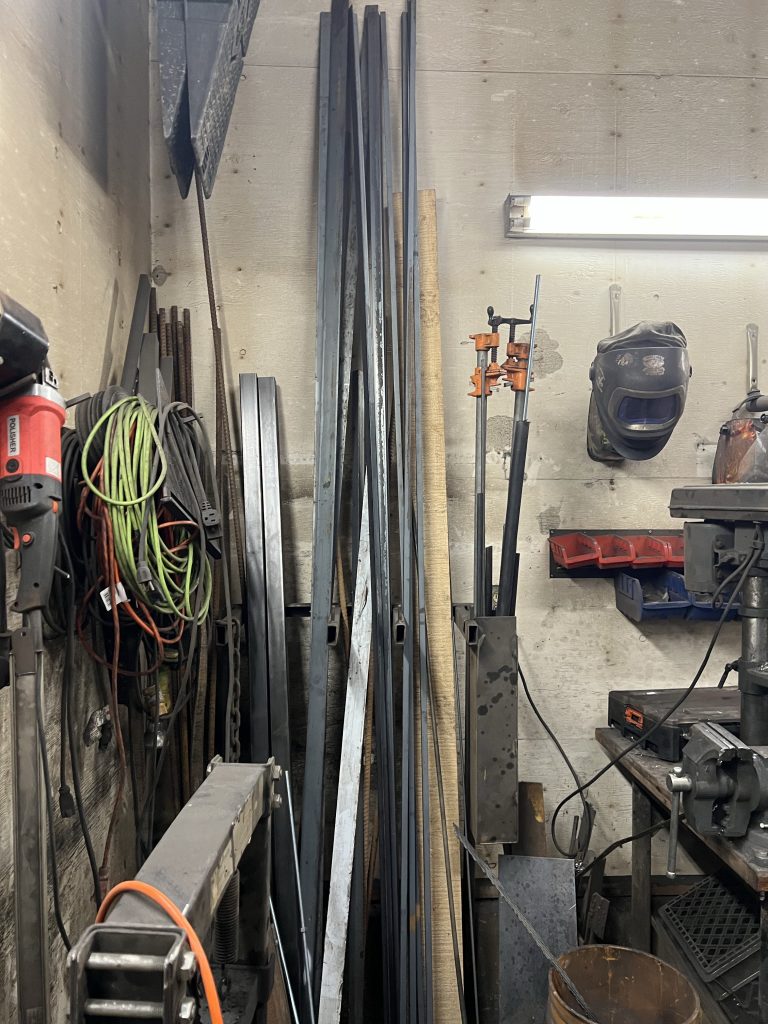
Material used to build a typical smoker not including 410 lbs of 3/8 walled pipe.
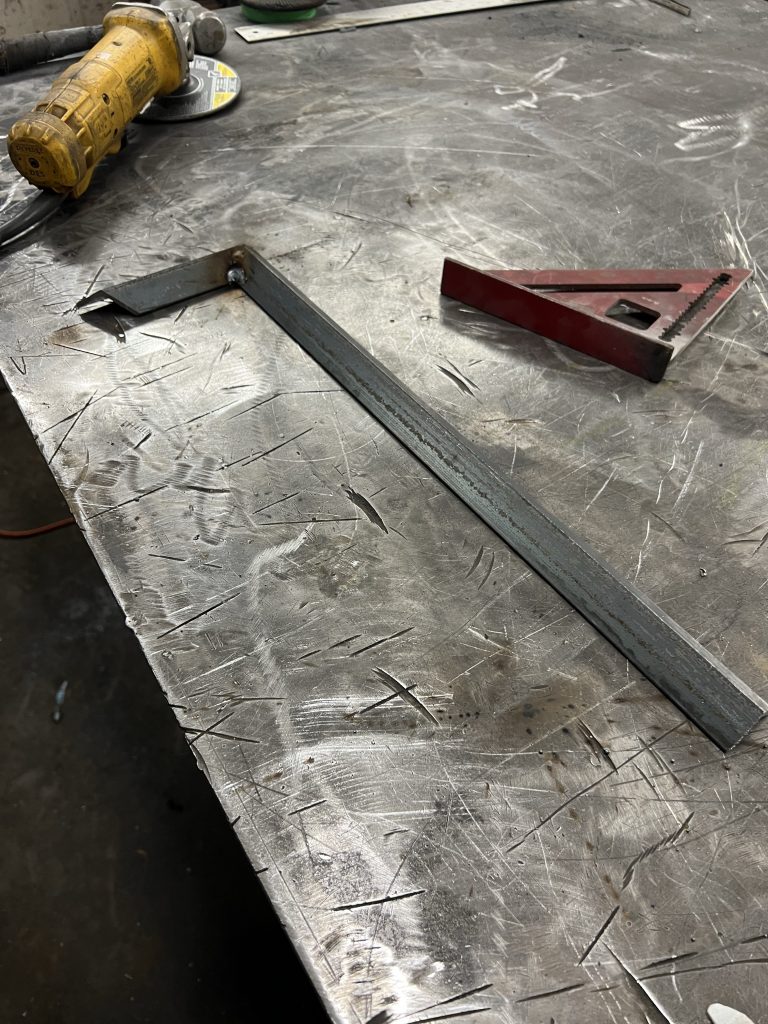
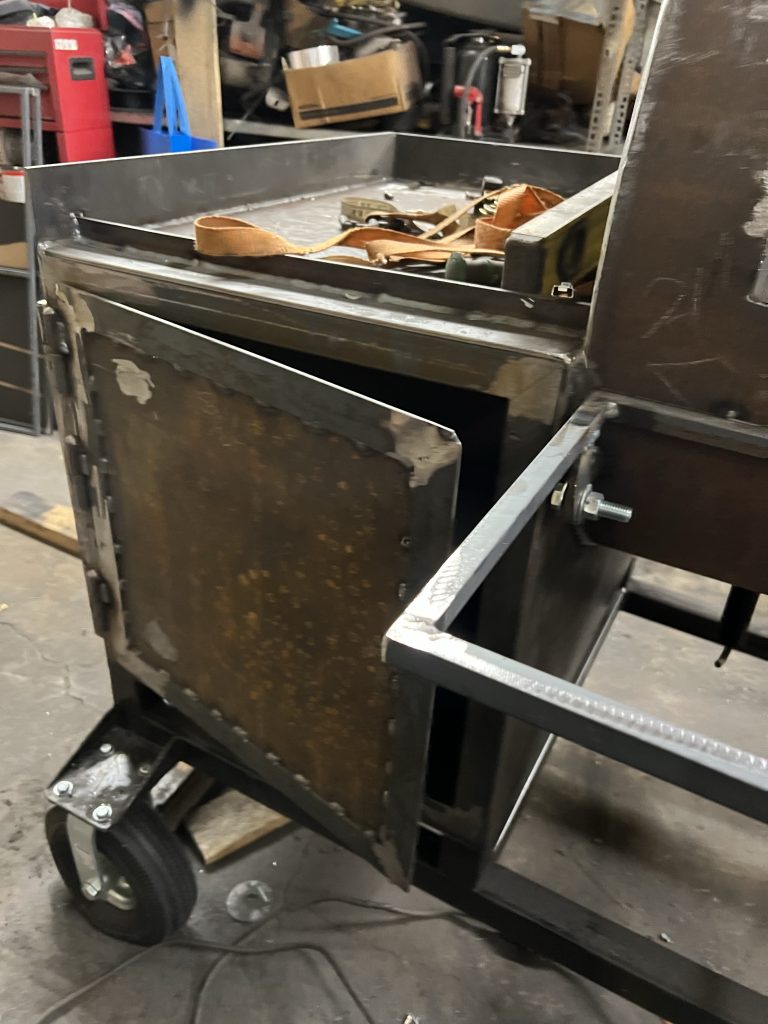
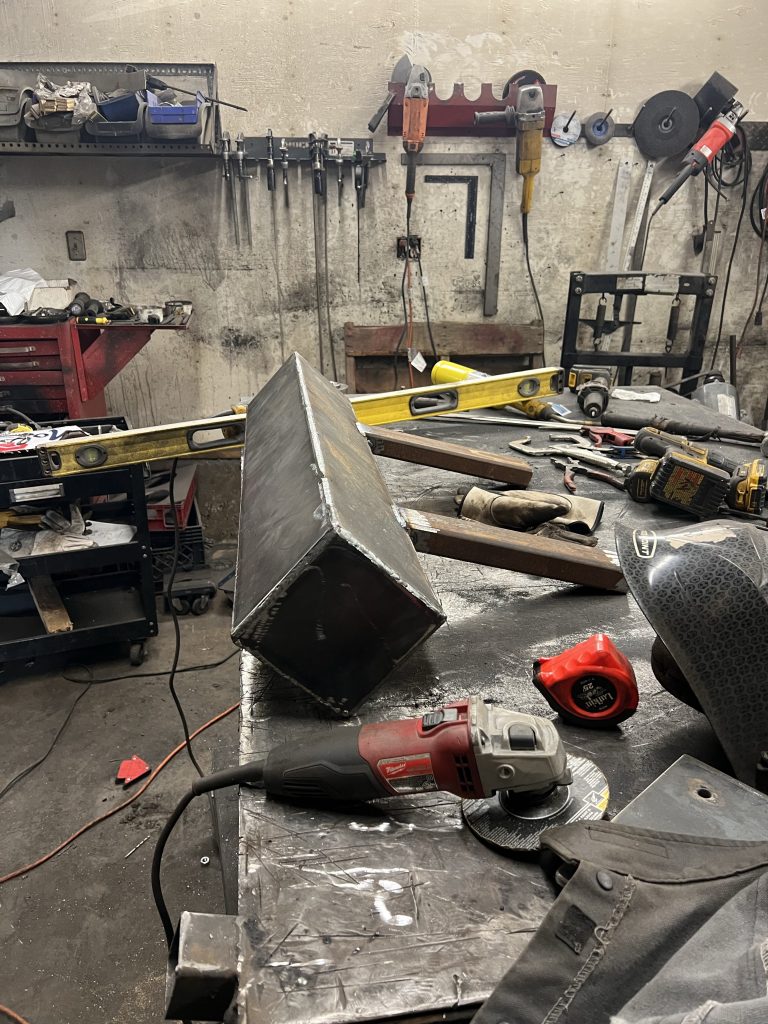
1 1/4” by 1 1/4” Angle Iron is used to picture frame the firebox door opening. This keeps the doorway square and battles against warping. When building the fire box I will always make my job easier by loading the ash pan rails and log rack rails in the sides of the firebox before I weld the box together, this makes the assembly much easier.
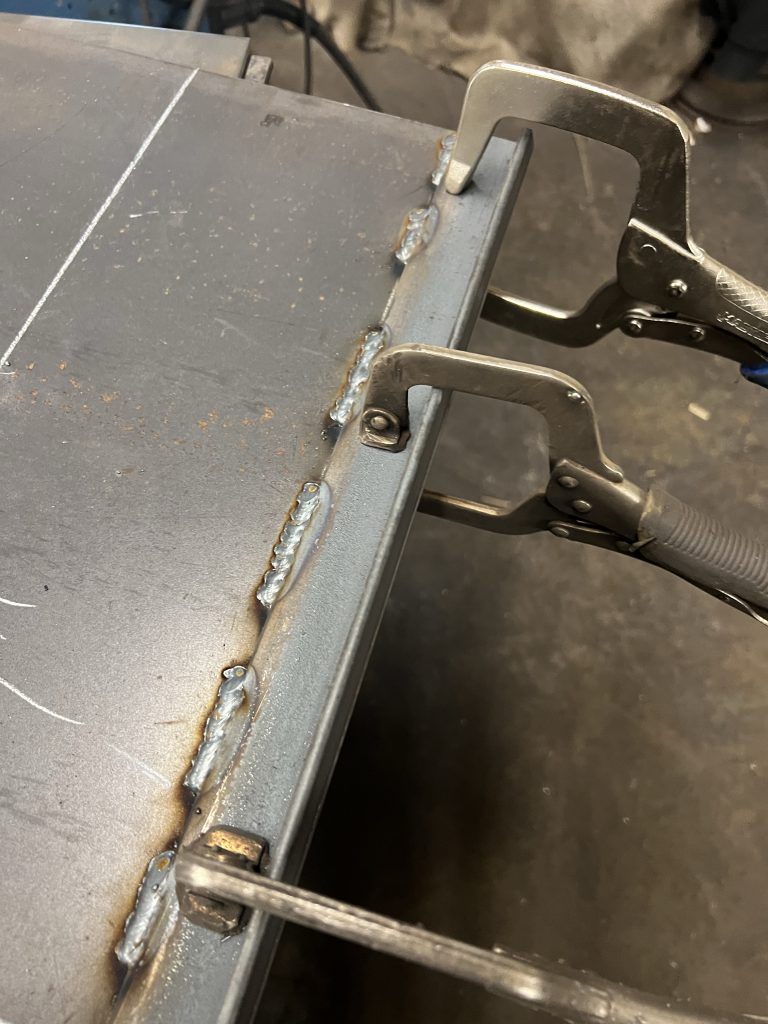
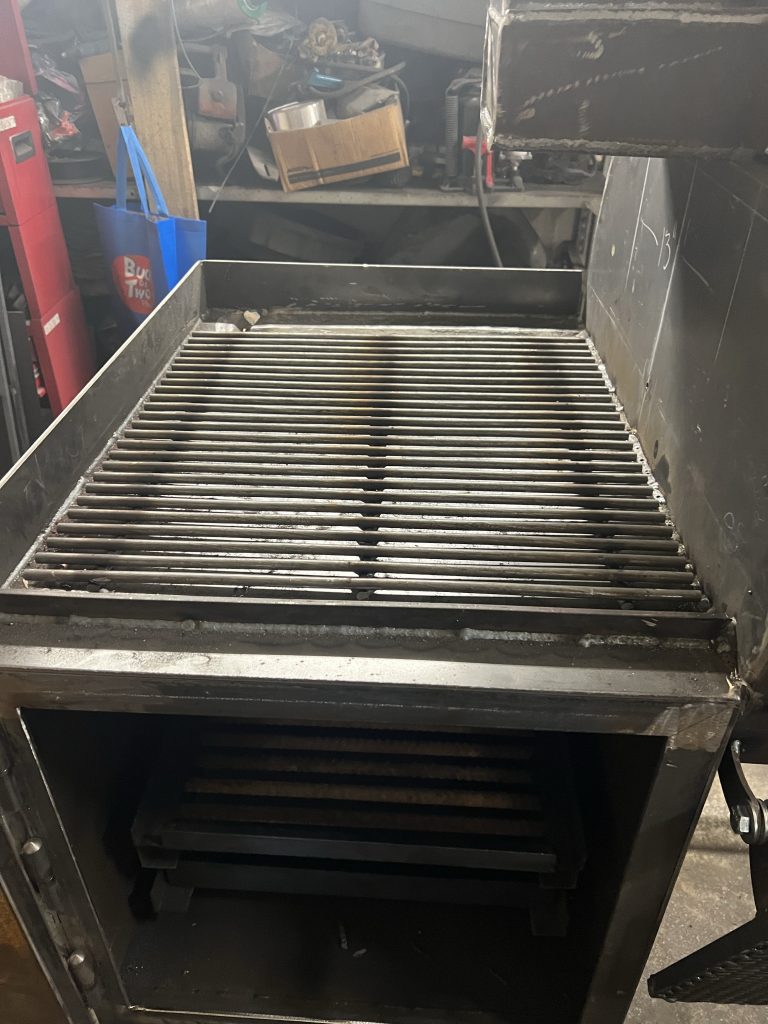
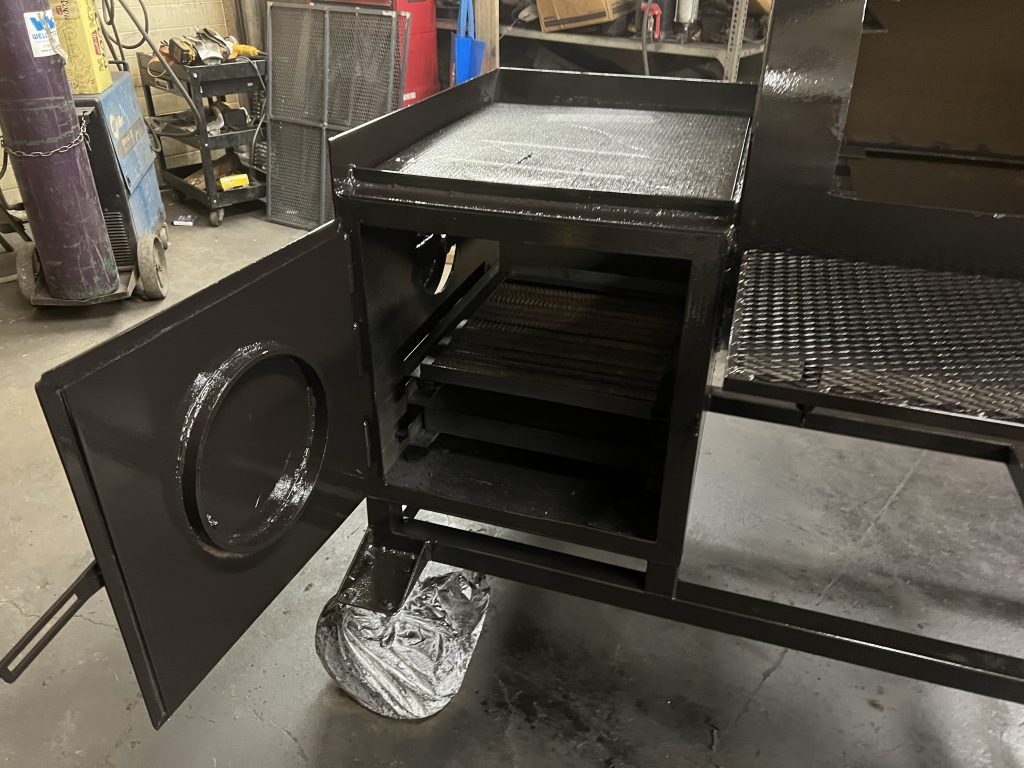
Once the fire box is tacked up and squared up then full welds are burnt in. In the picture you see the 3” lip where the grill station is located. Next burn in the grease channel.
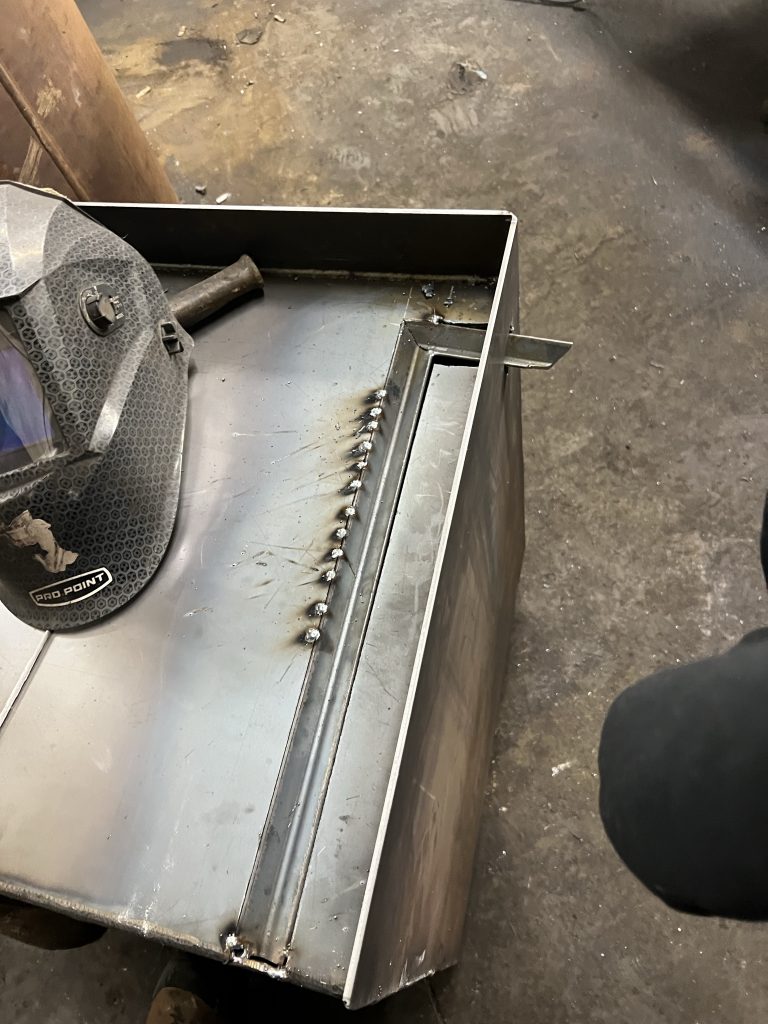
Laying out where I need to plasma cut the grease channel out and weld in a angle iron channel. Prepping the channel for installationTack in the channel, looks like a cut the channel a little big on the output side. Little repairing on the output side of the channelRunning down hill is always great welding. Sealing up the grill station, next building the door for the firebox and then attach the main chamber to the firebox.
Short day today March 2nd, 2023, ran out of gas and not enough time left in the day to run out and back again.
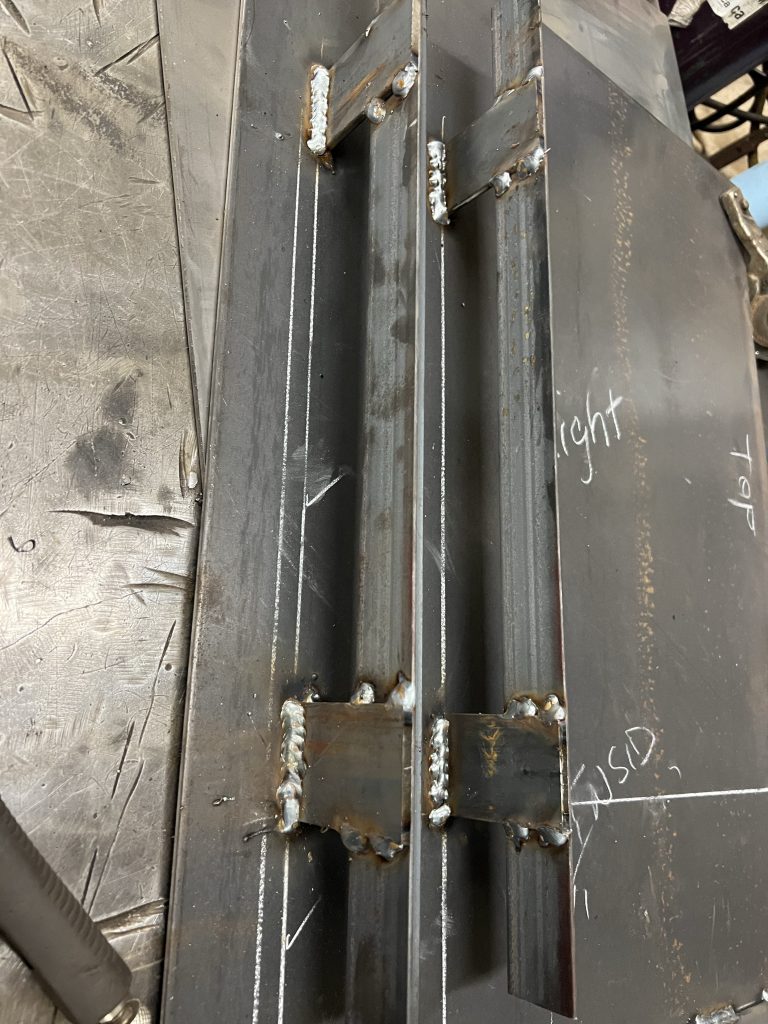
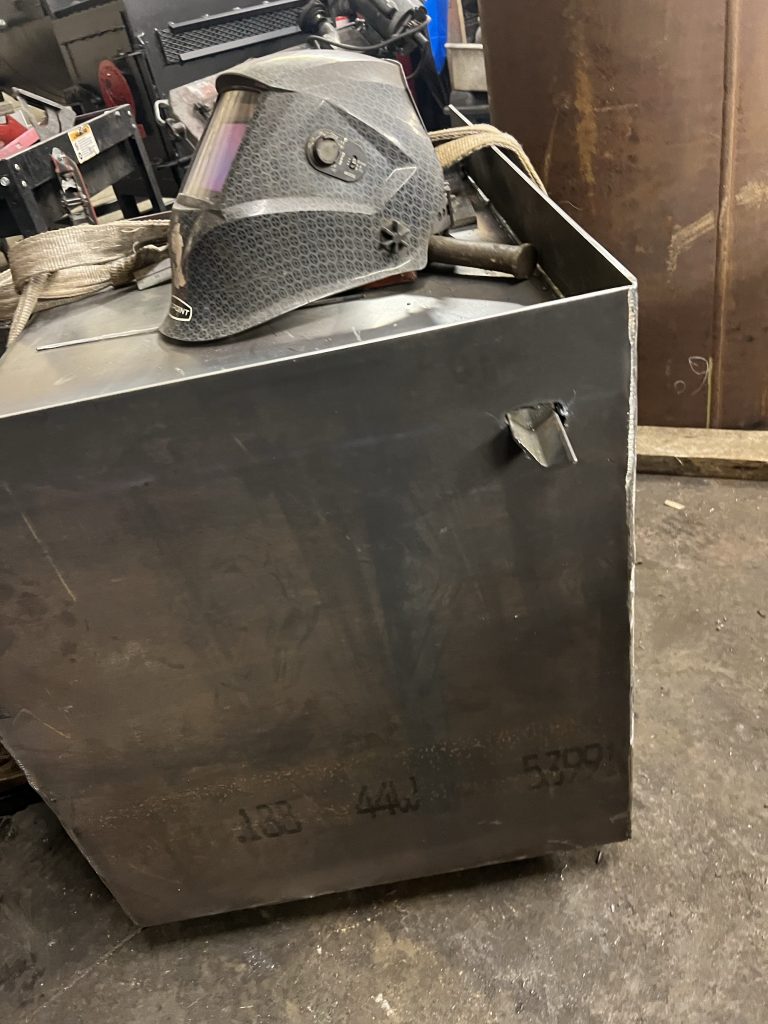
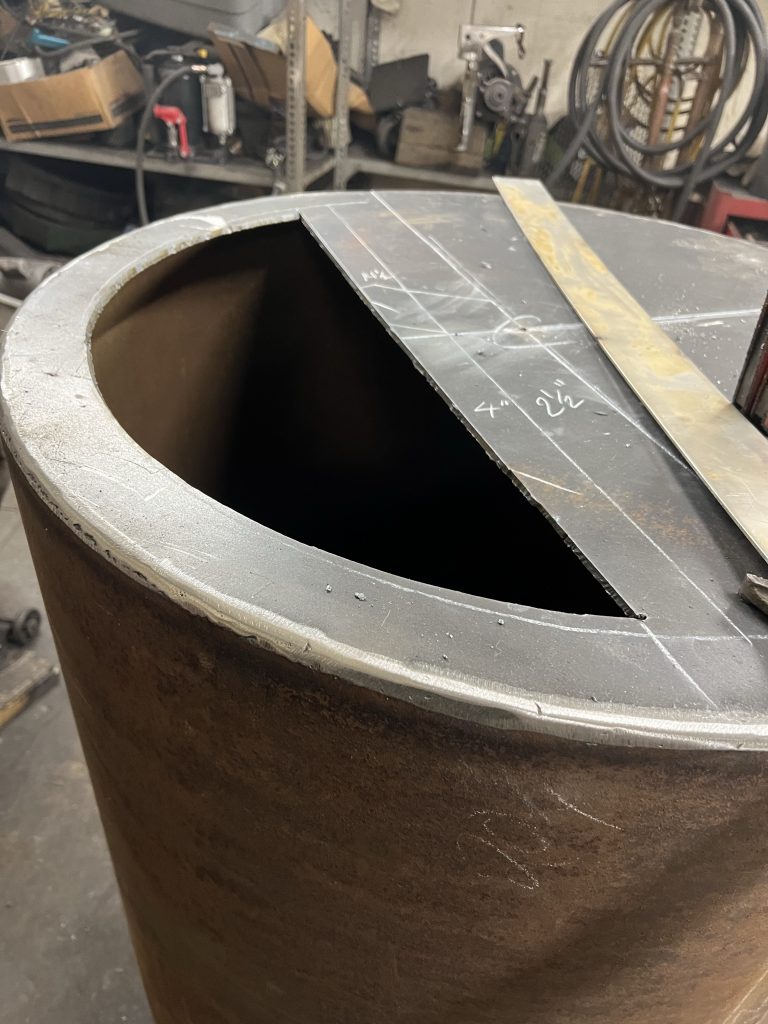
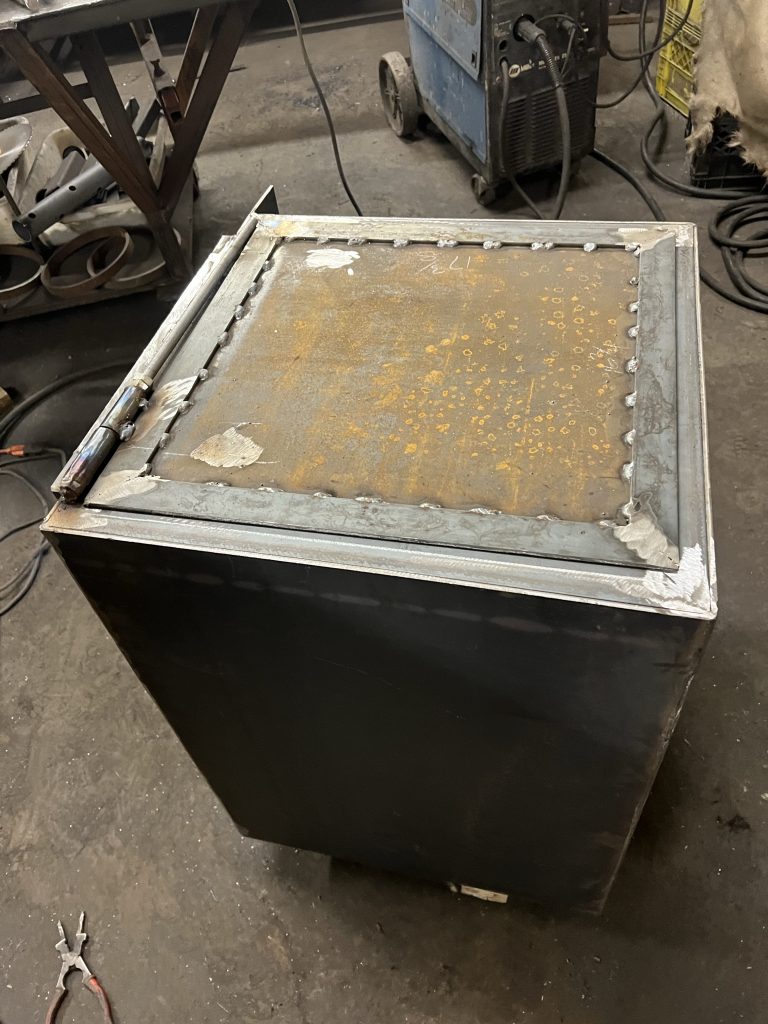
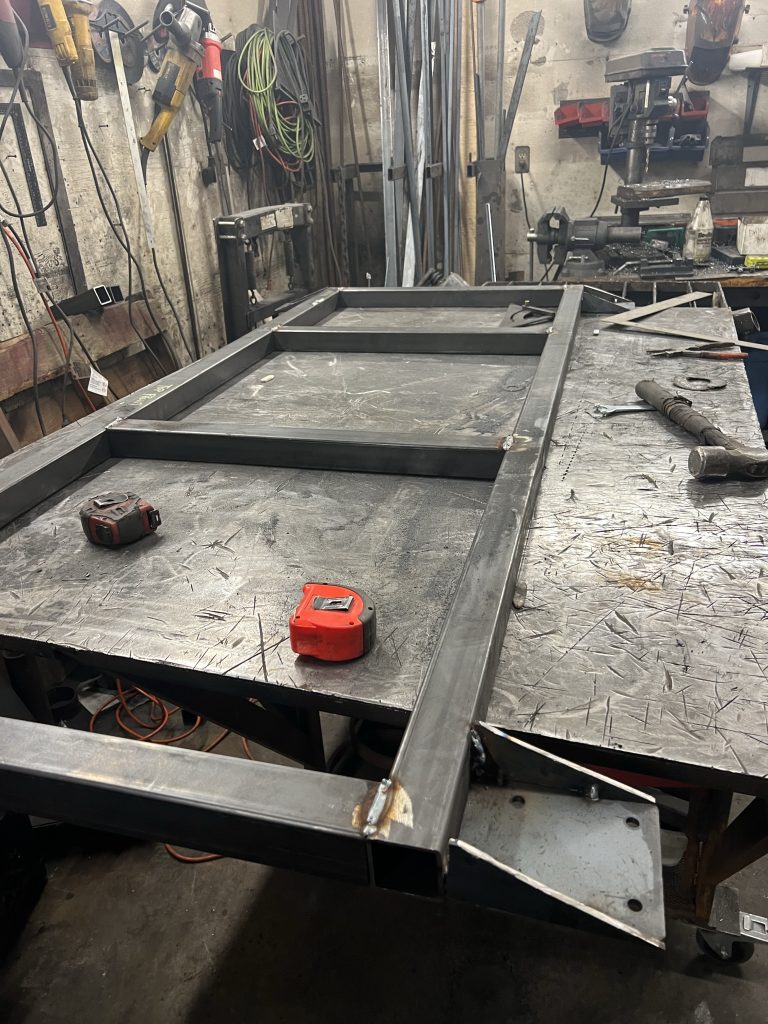
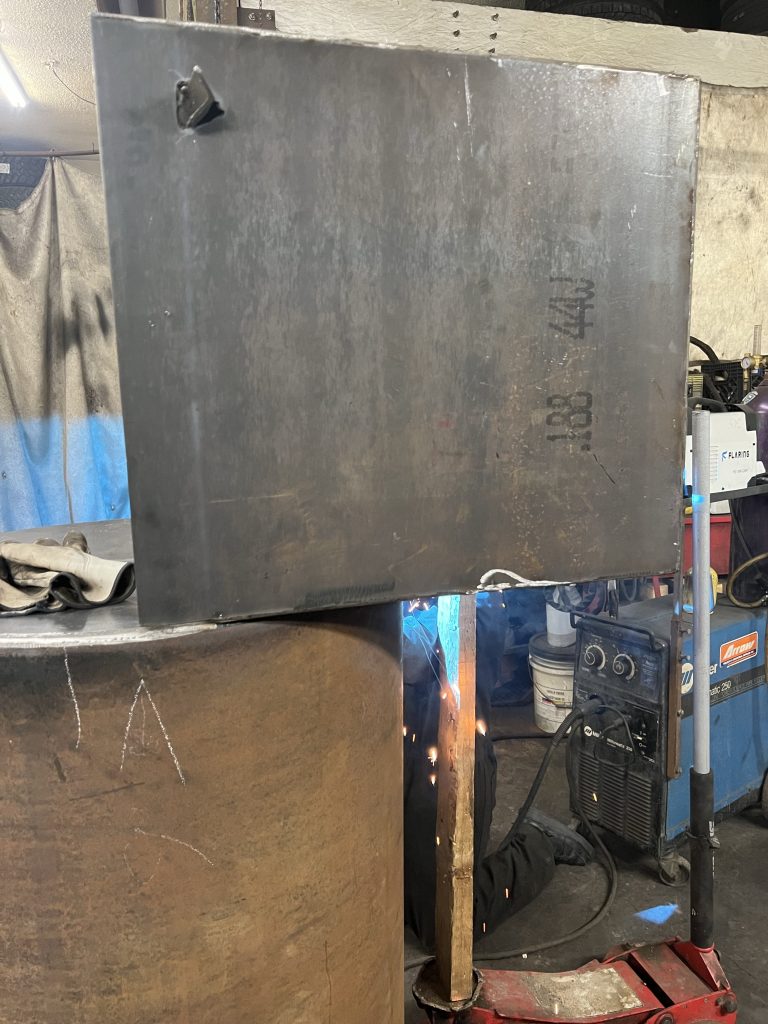
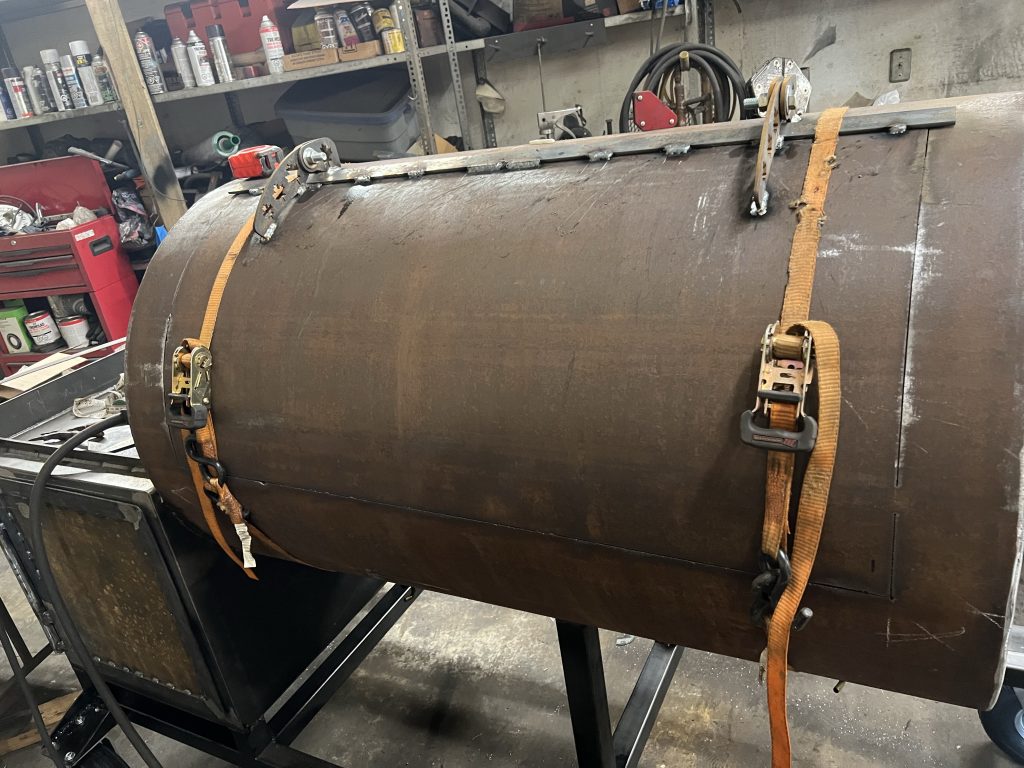
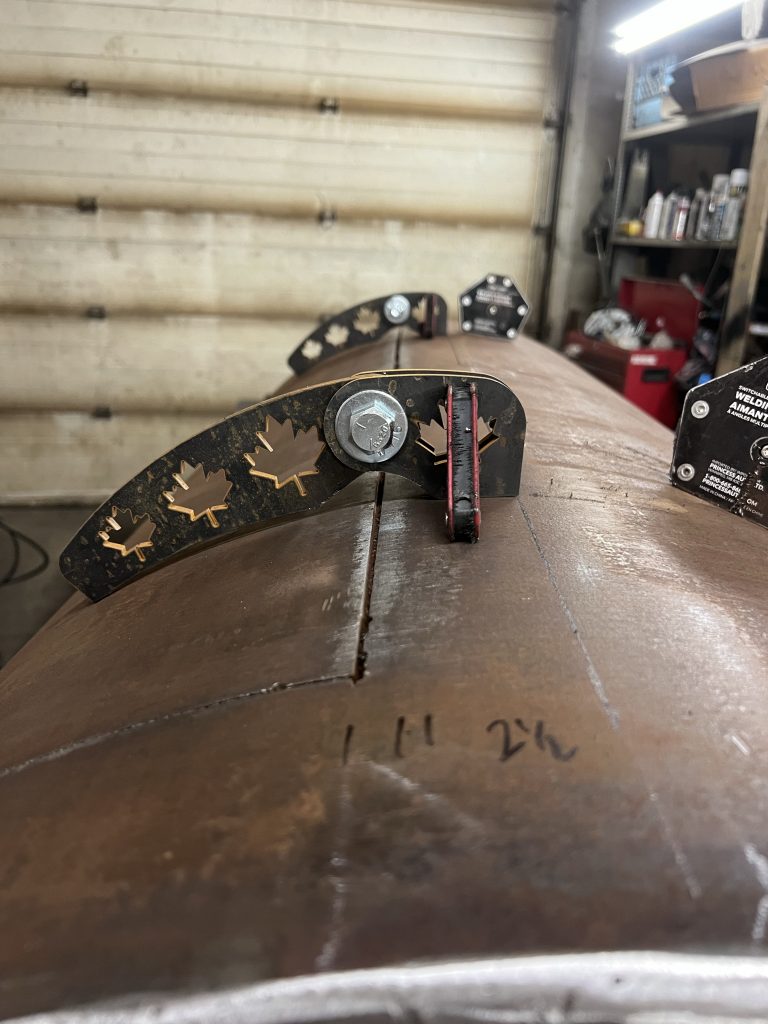
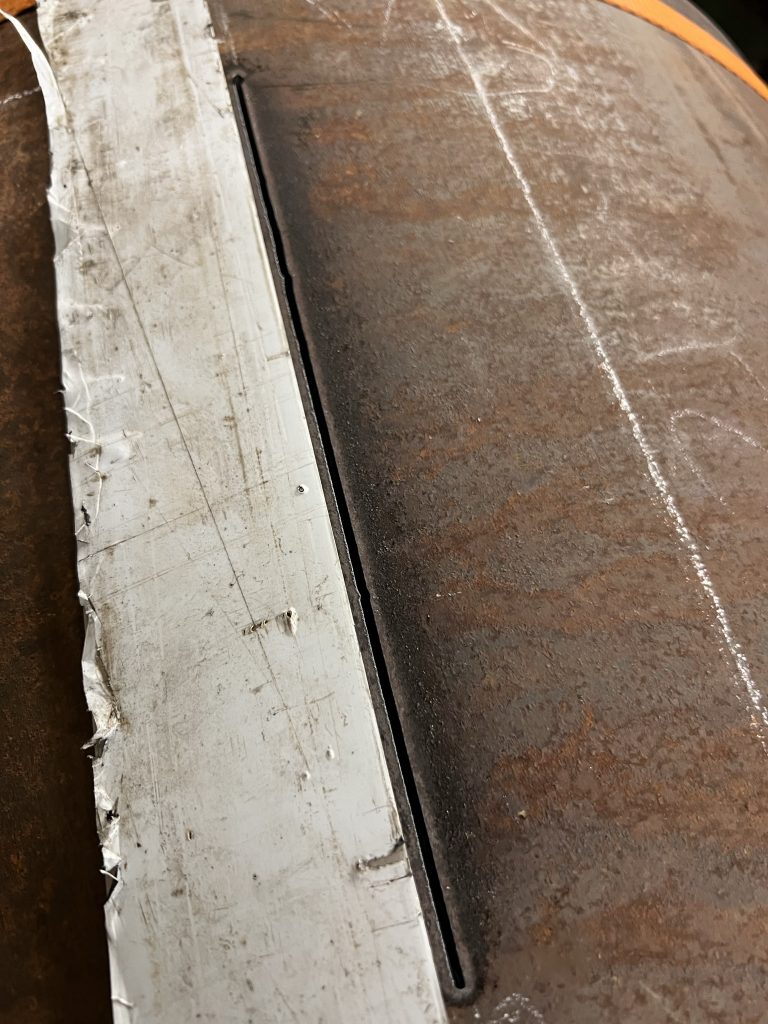
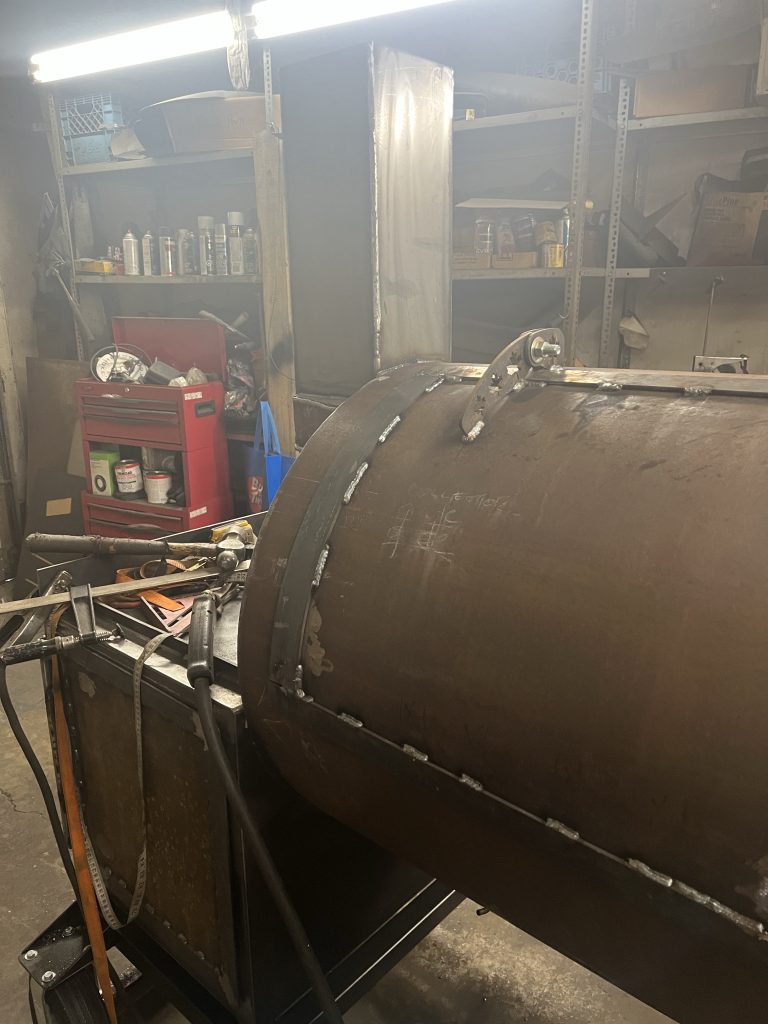
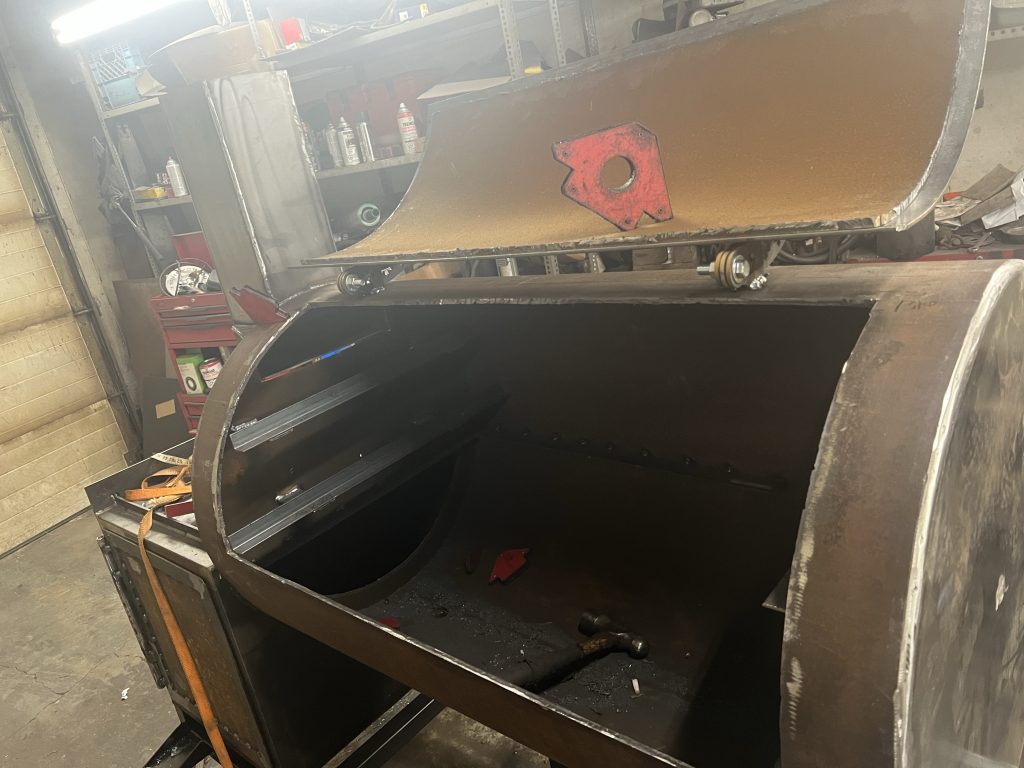
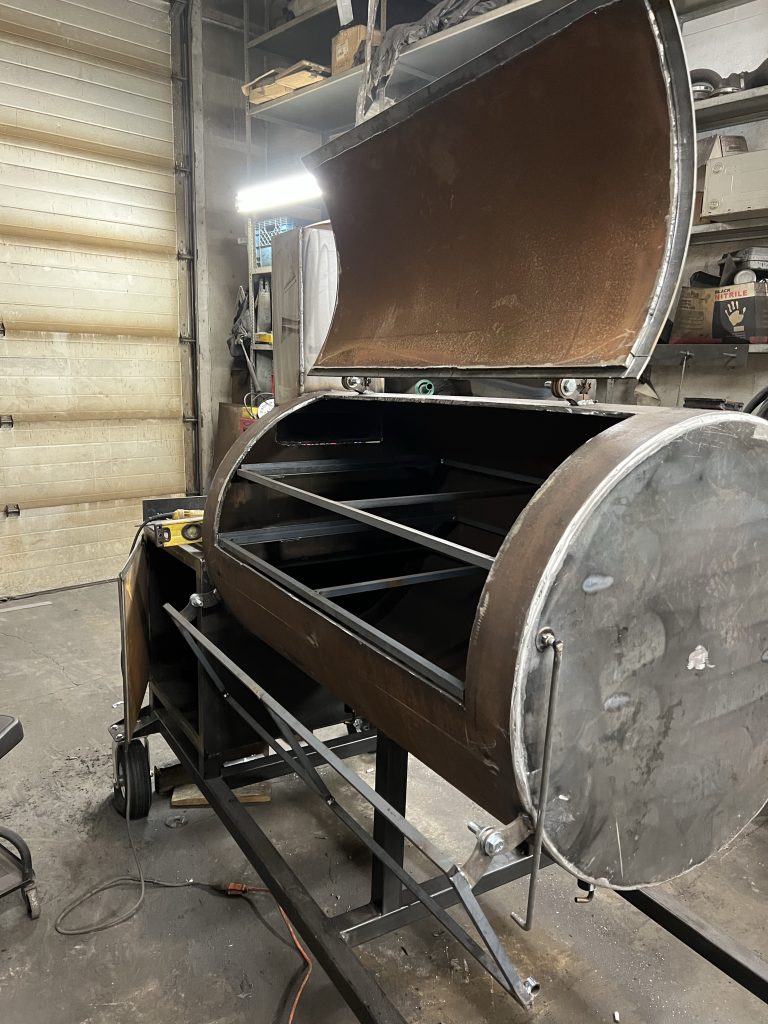
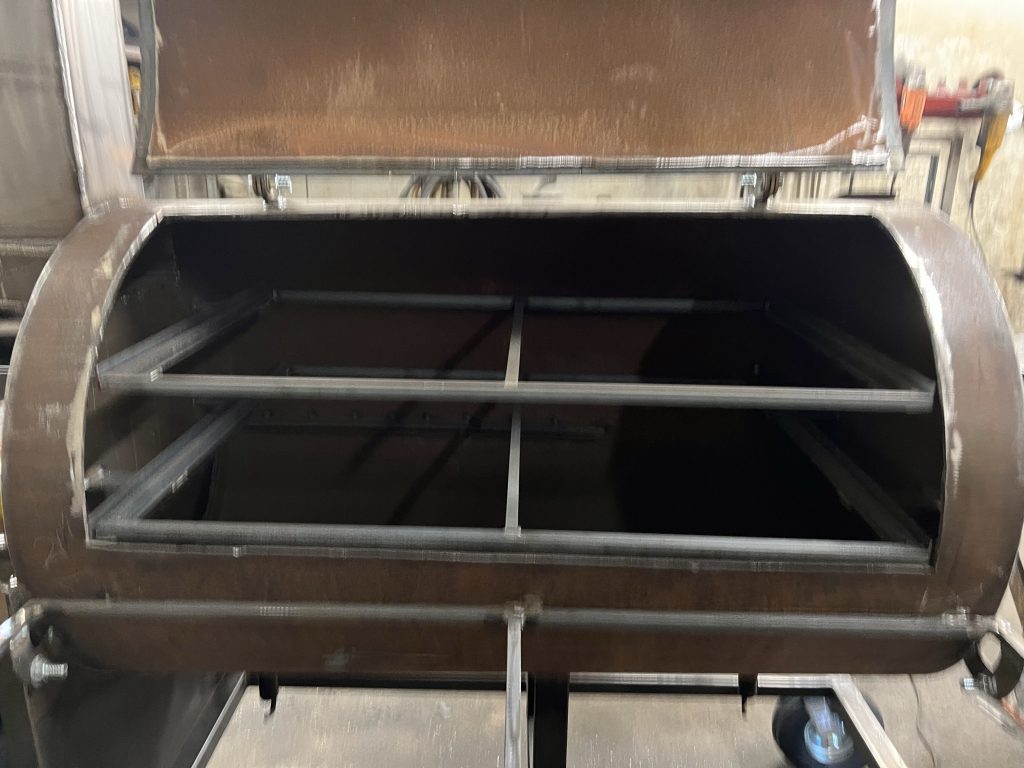
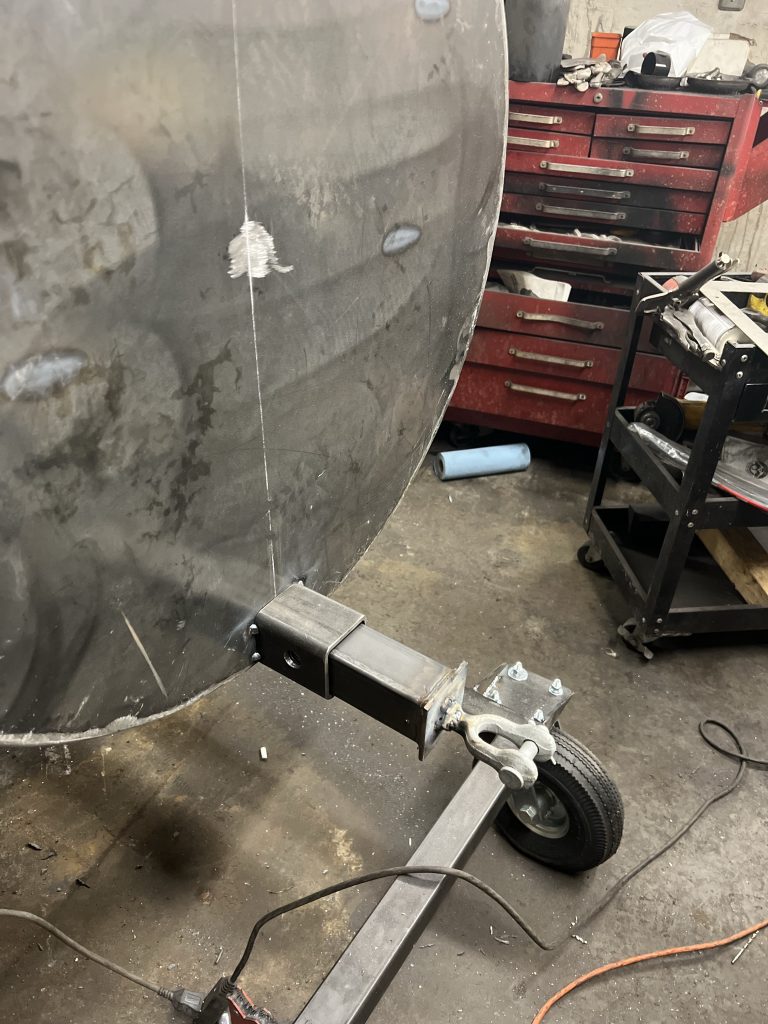
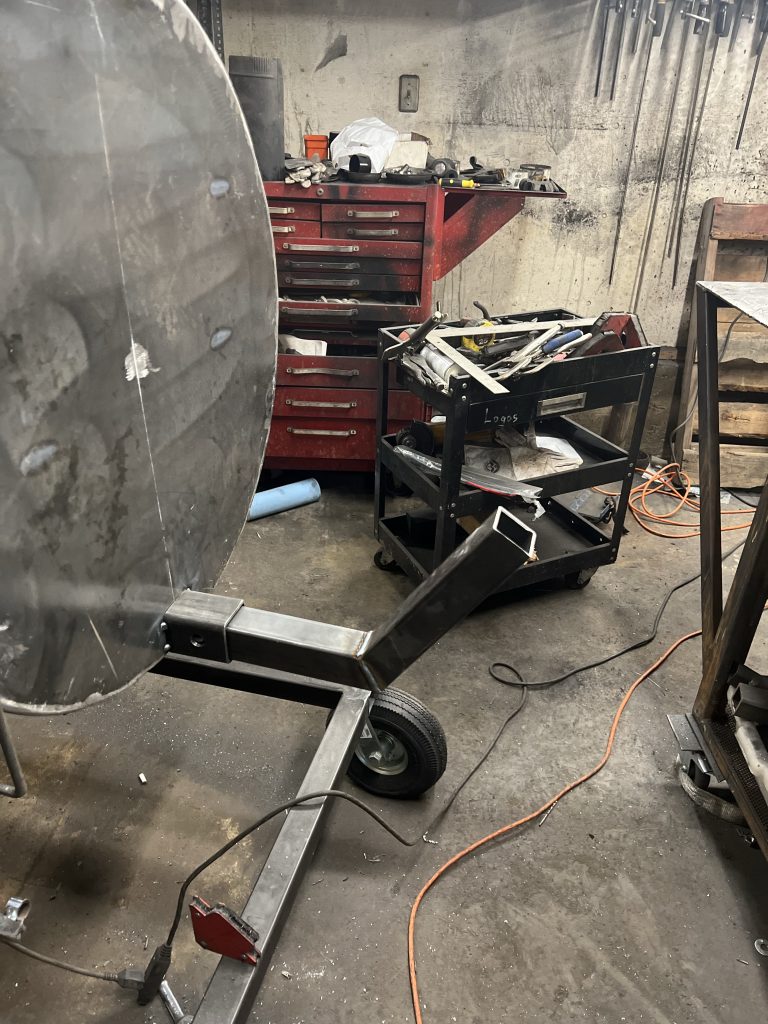
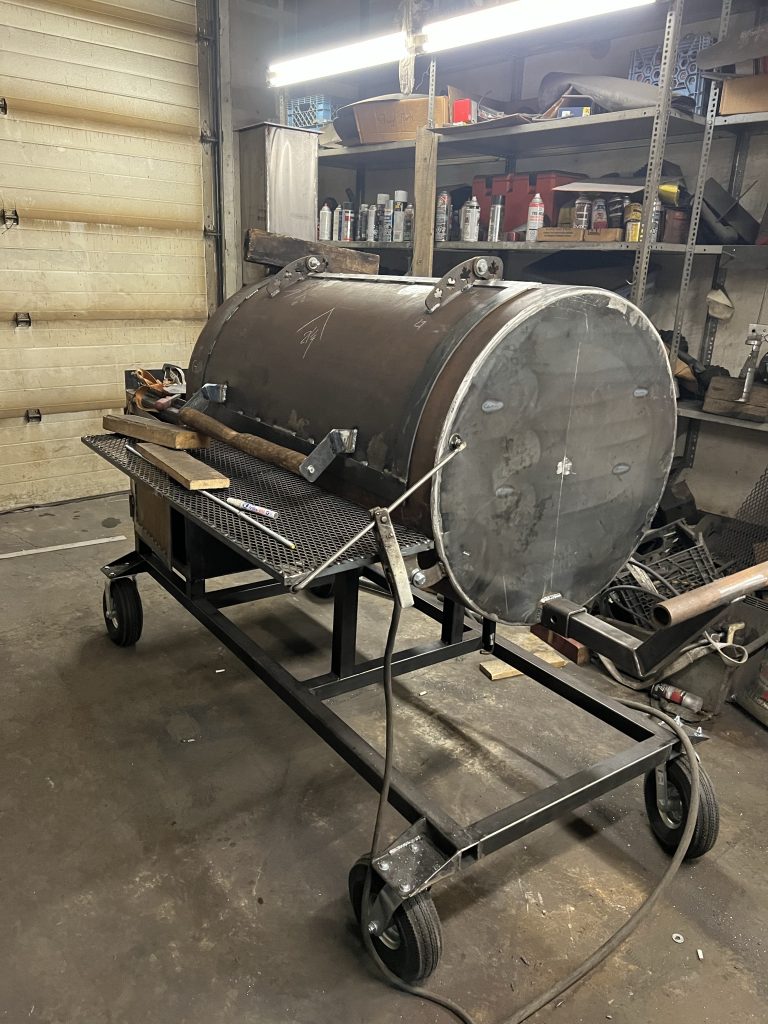
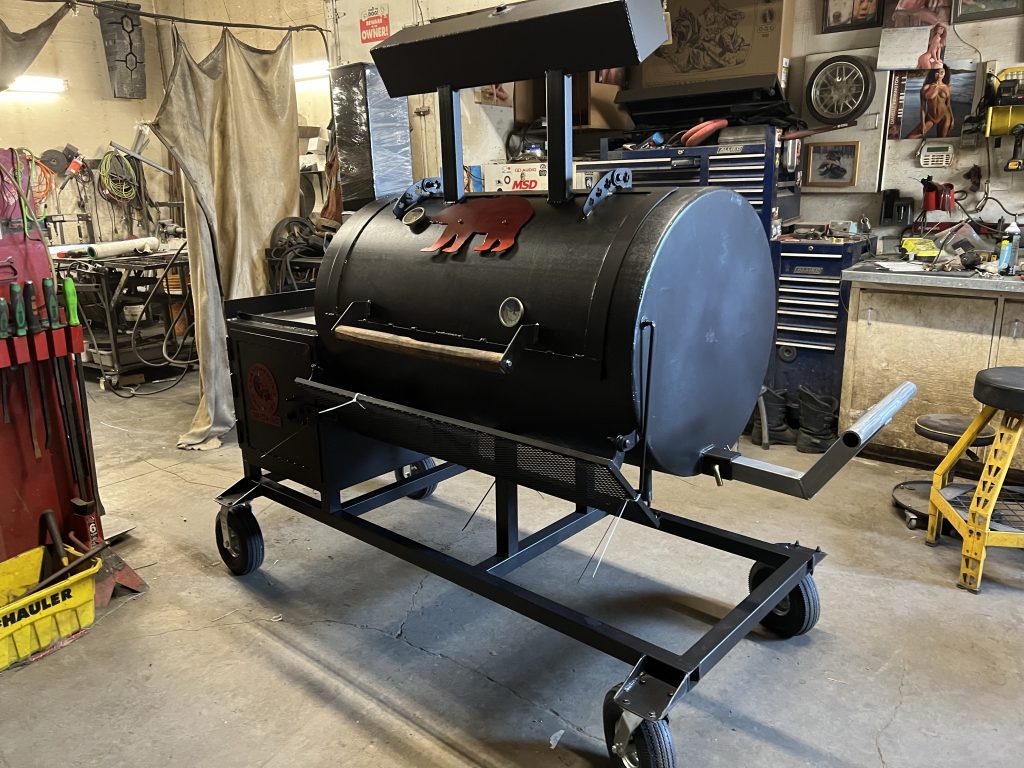
Marked out the chamber throat to the firebox and ya that my fingerBoom cut out just that easy. Didn’t even follow the line. Oh well! Decided to change the hinge just on the fire box, keeping the hinge close to the box. I also used a section of 5/8 square rod to keep the left side where the firebox could over time warp the hinges. Blasted the frame together today with caster mounts. Trying a new wheel for the client since he’d like to move it around the yard. Mocked up the chamber to the firebox. Typically I’m a right handed firebox guy but the client requested the firebox to be on the left side which will screw with my head until this build is done, I’m sure I’ll make some type of mistake before it completed. Had a guest welder in today. Helping hands. Tack that chamber up! Just a quick video of the frame work on the lid Letting it cool down before releasing the straps Lining up the hinges, it’s not as easy as it seems. Cutting the lid out with a Flarine 50 amp plasma torch and by hand! We’ll sort of I use a 6’ section of 1/8th stainless steel as a straight edge. Never have the lid pop in before. Pop out Ya! But in? Tough fix, I should have take pictures but the easiest way to explain it, weld a piece square tubing to the lid and drive a rectangle wedge over the lip to pull the lid out and then weld the Piss out of flatbar ! I believe welders call it a dog leg? Laying out for the collector Add the collector and stack and start welding Add some grate rails and pre cut the grate square bar and grates will be in tomorrow.
Quick update, had a wrist problem today. Dam wrist was working correctly. Couldn’t even hold a hammer
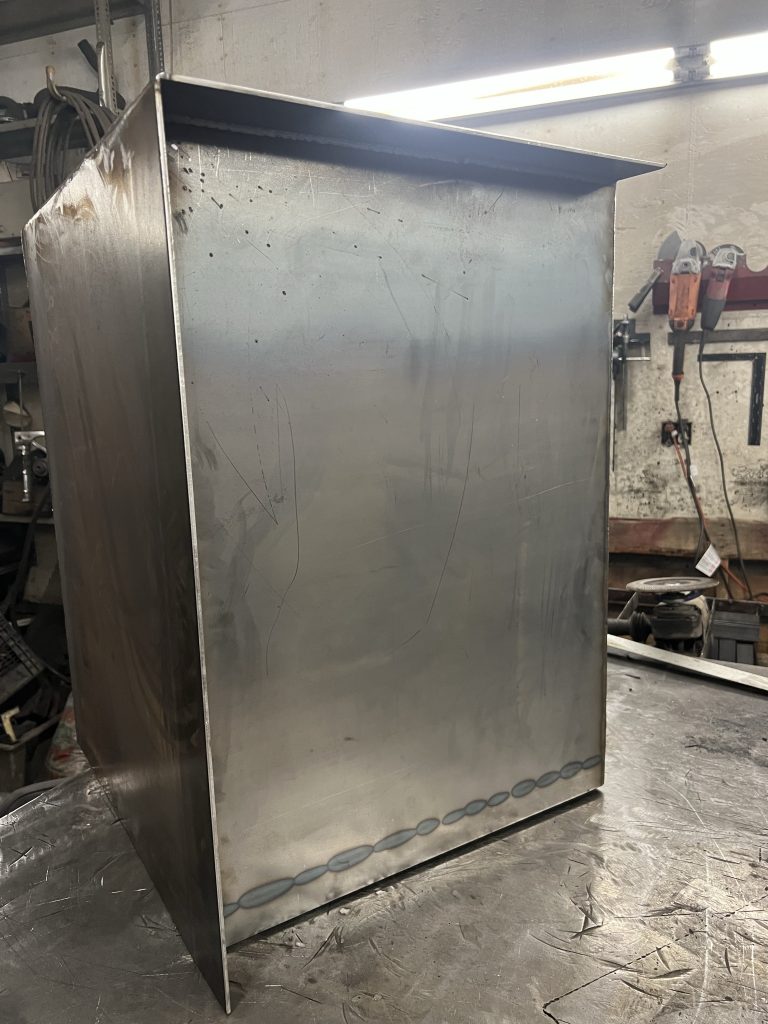
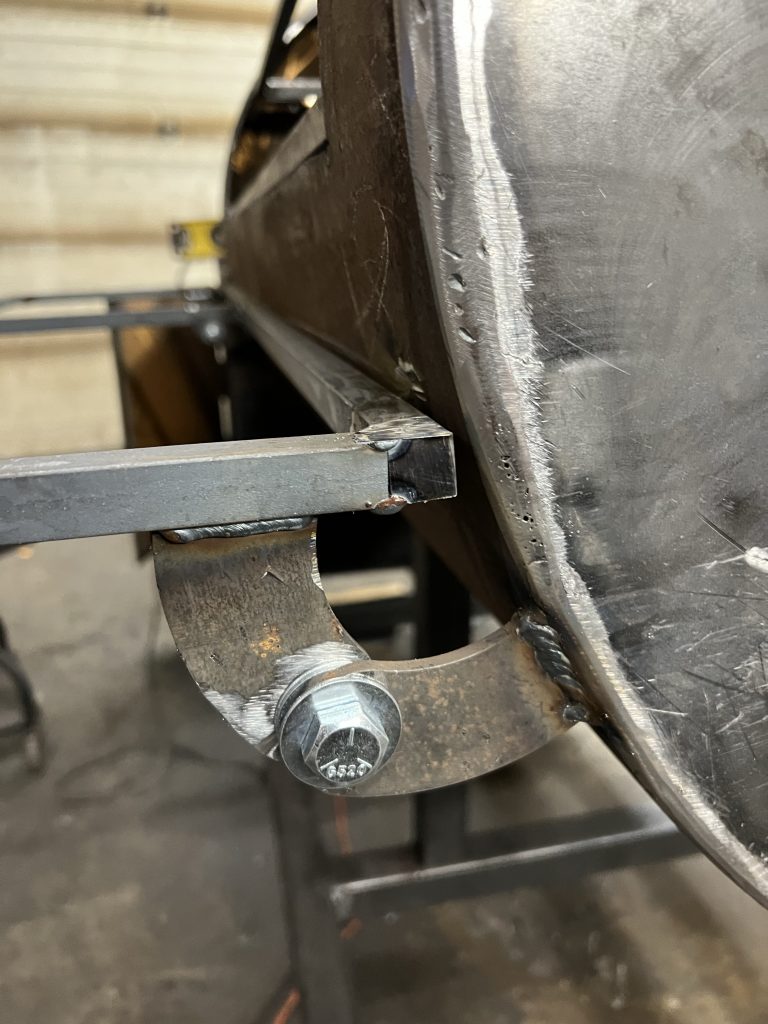
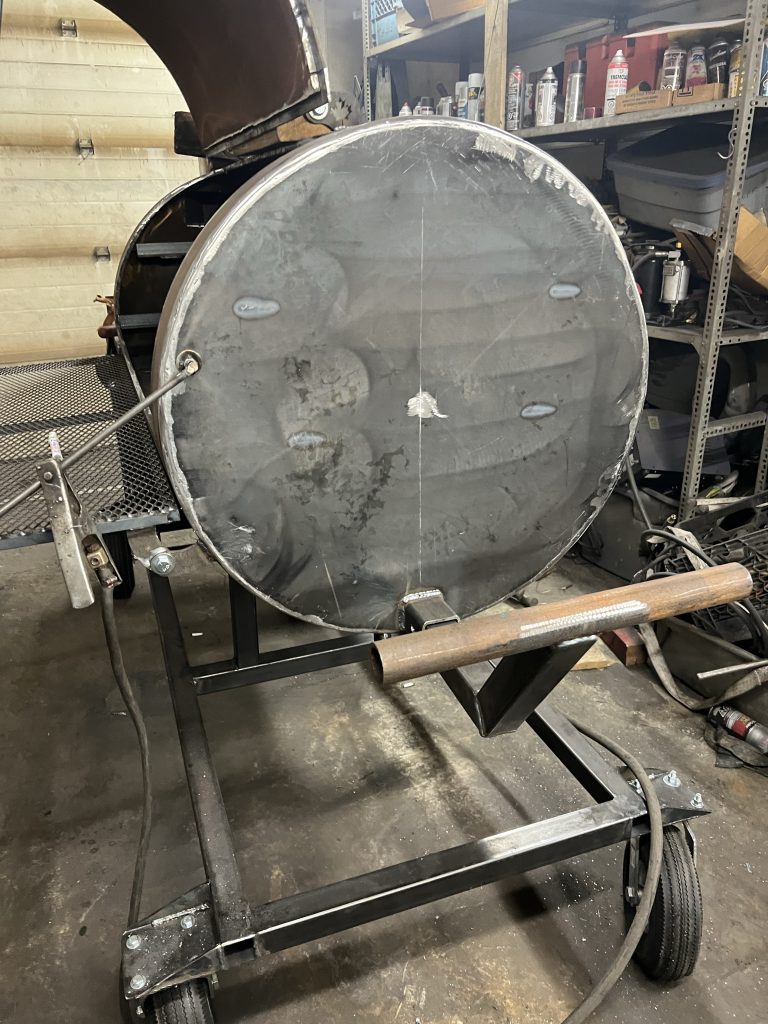
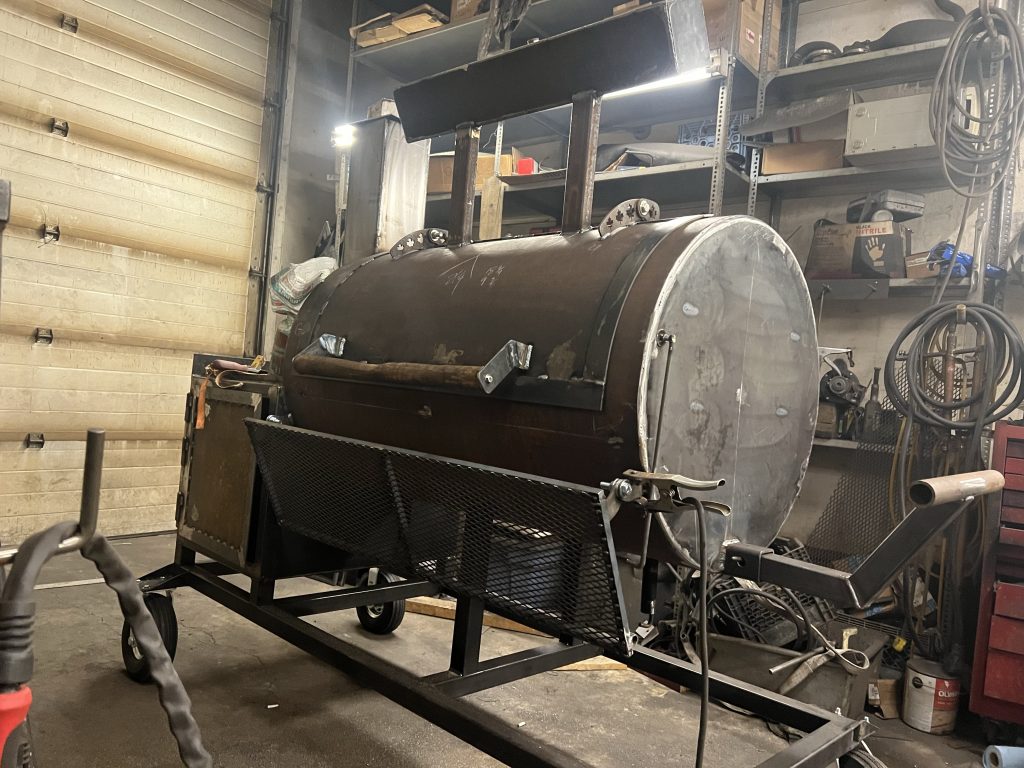
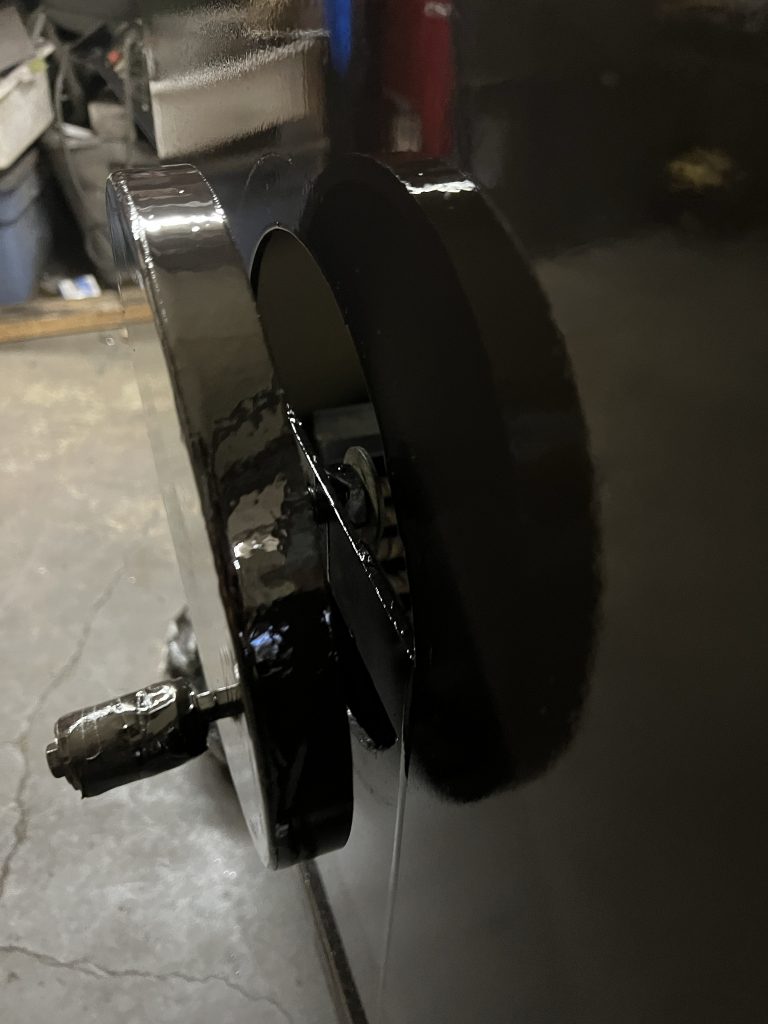
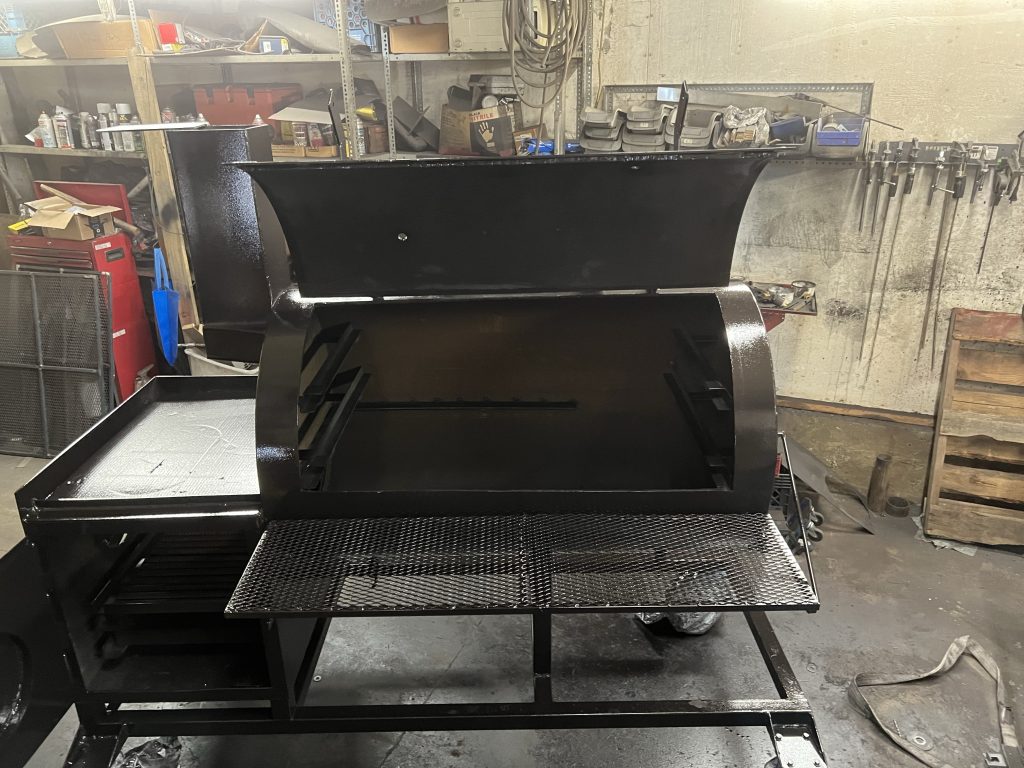
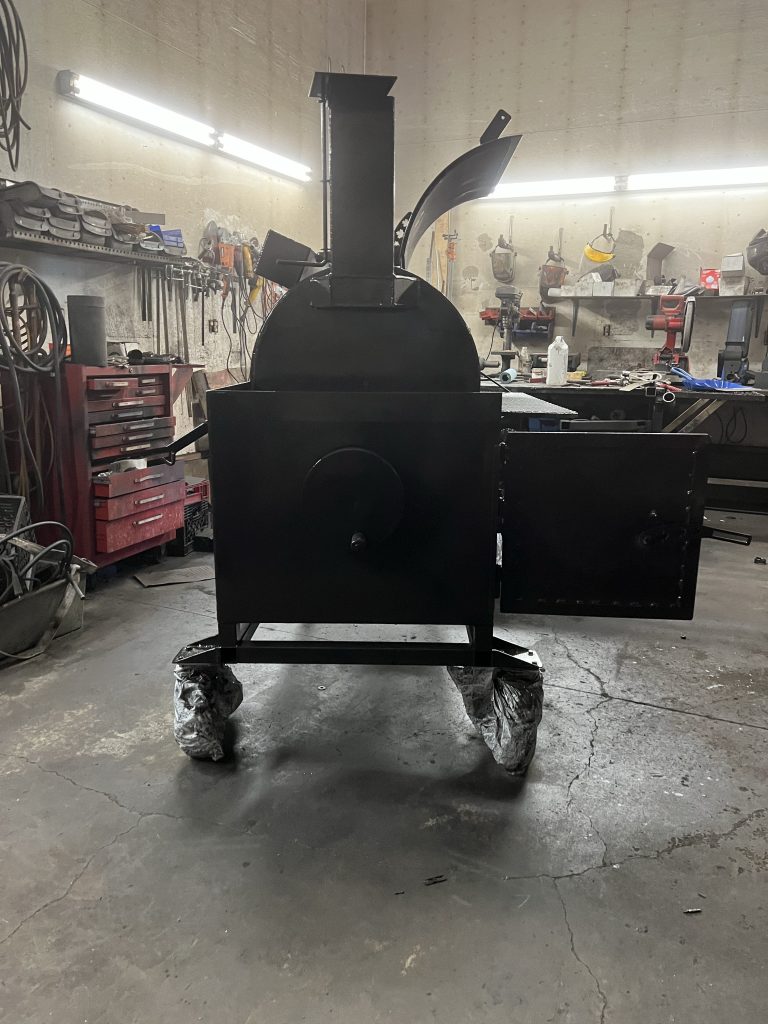
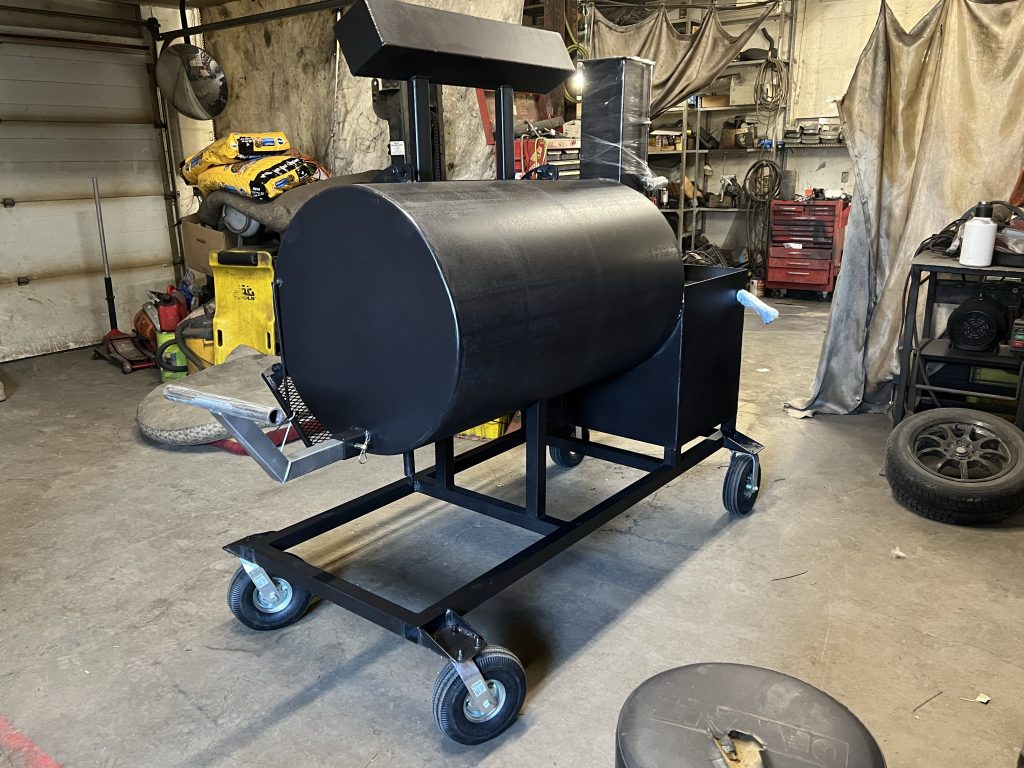
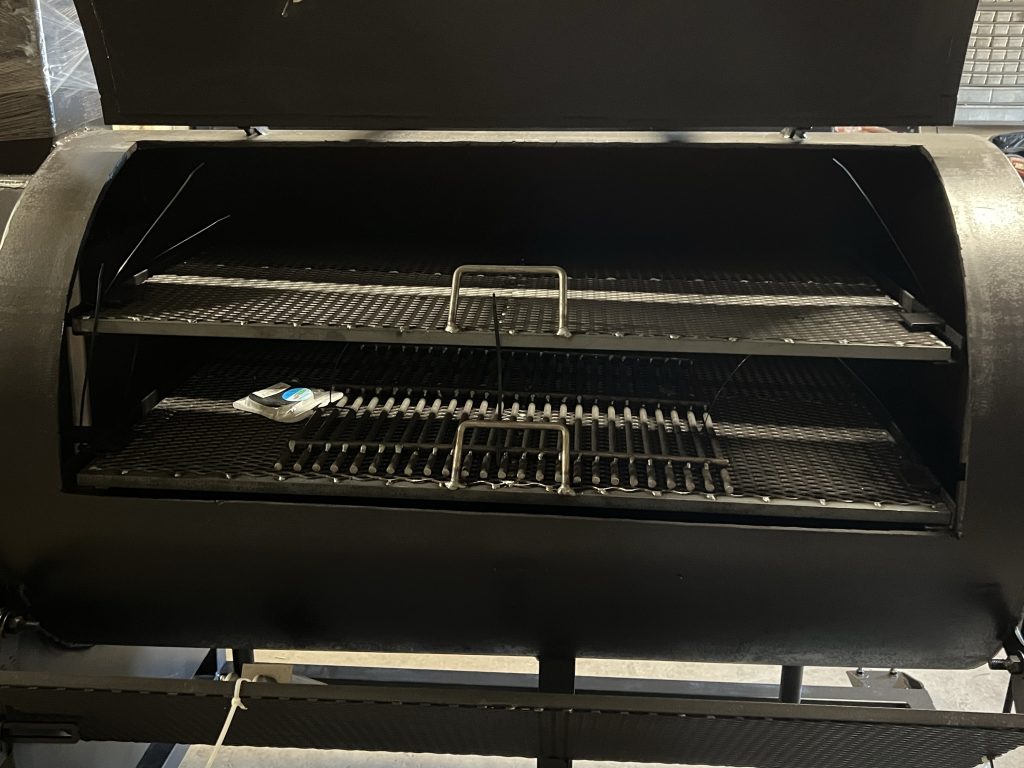
Rod grate welded and ready Standing on its feet and dam close to paint. So many little items to knock off the list before paint. Grind out before paint will take at least the morning shift. Using play sand since it’s clean and bug free. A plug is welded after incase the customer requires to add or remove sand (vacuum to remove) to adjust the counter balance to his or hers liking.
J
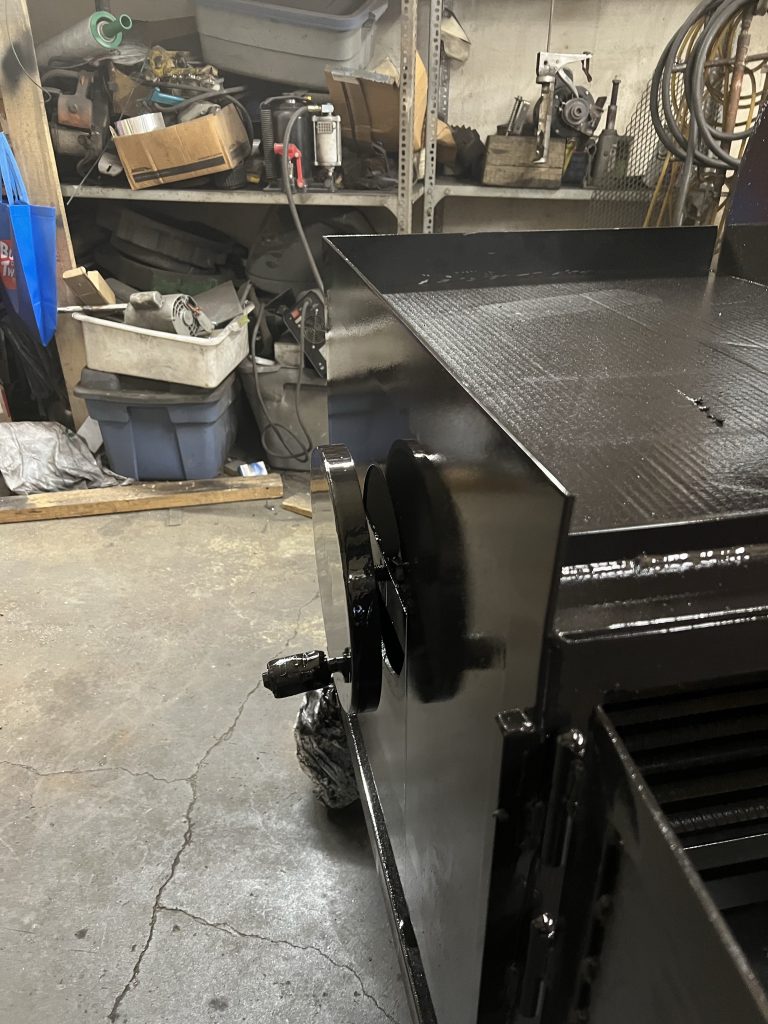
Air Intake Assembly completed
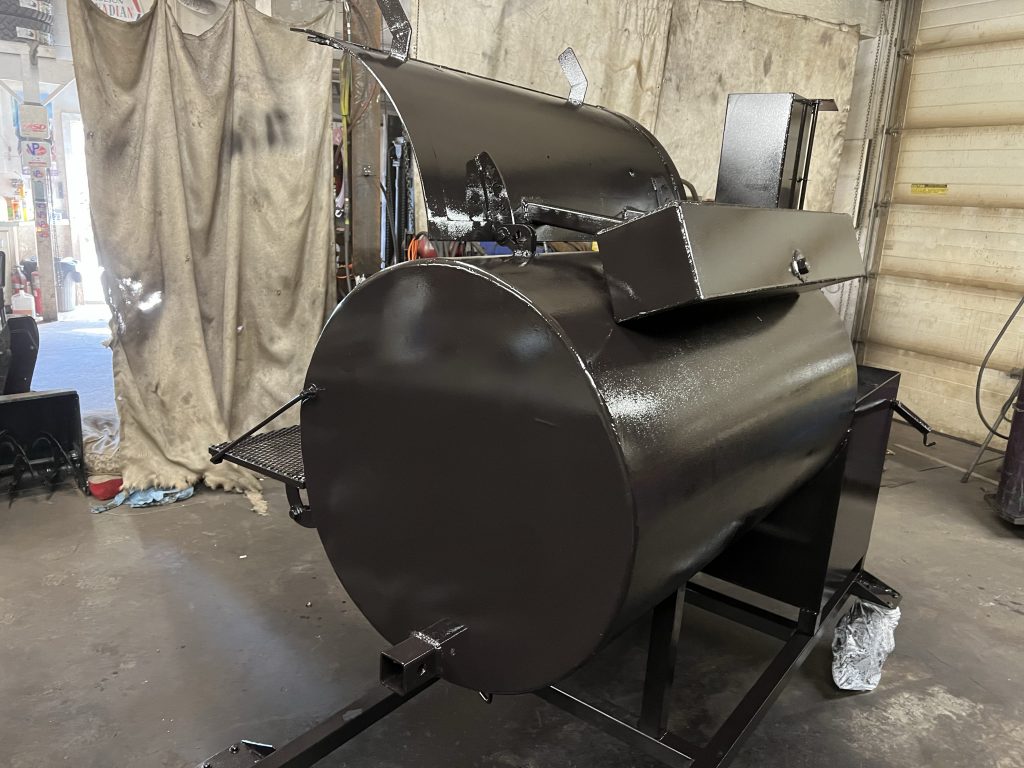
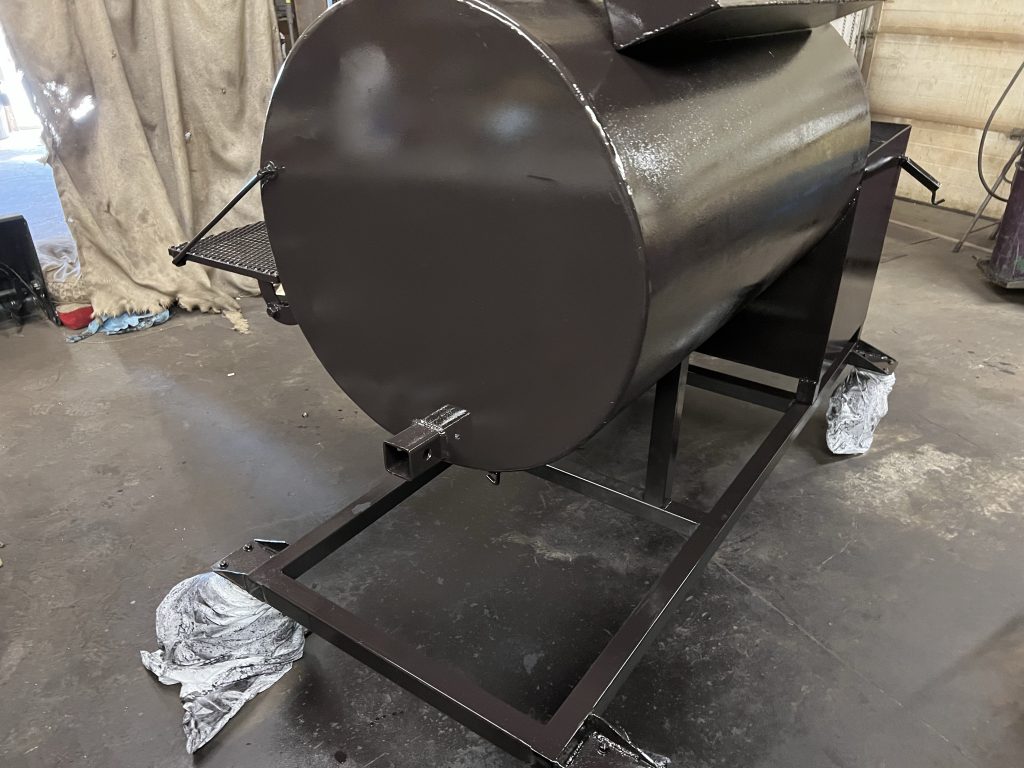
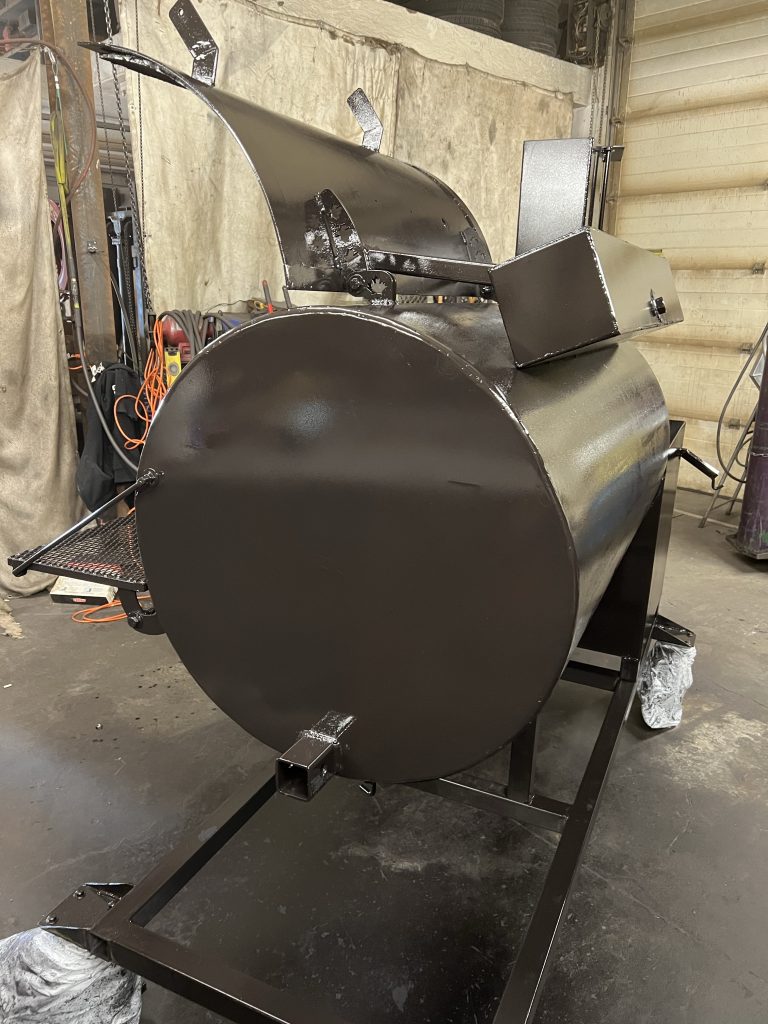
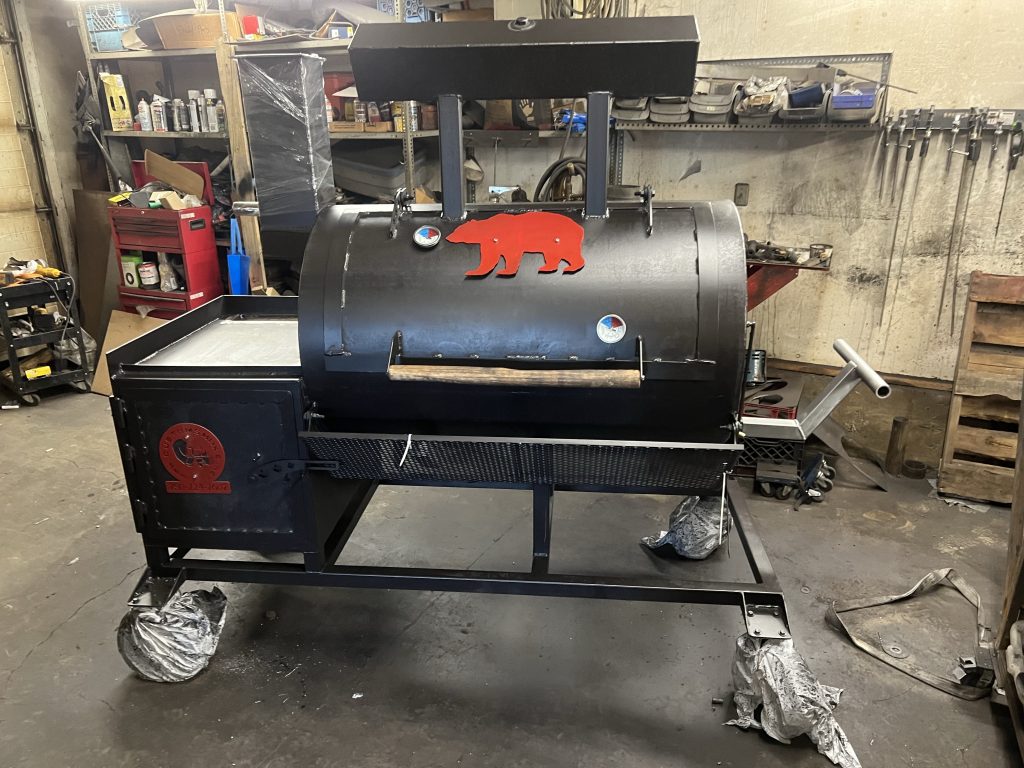
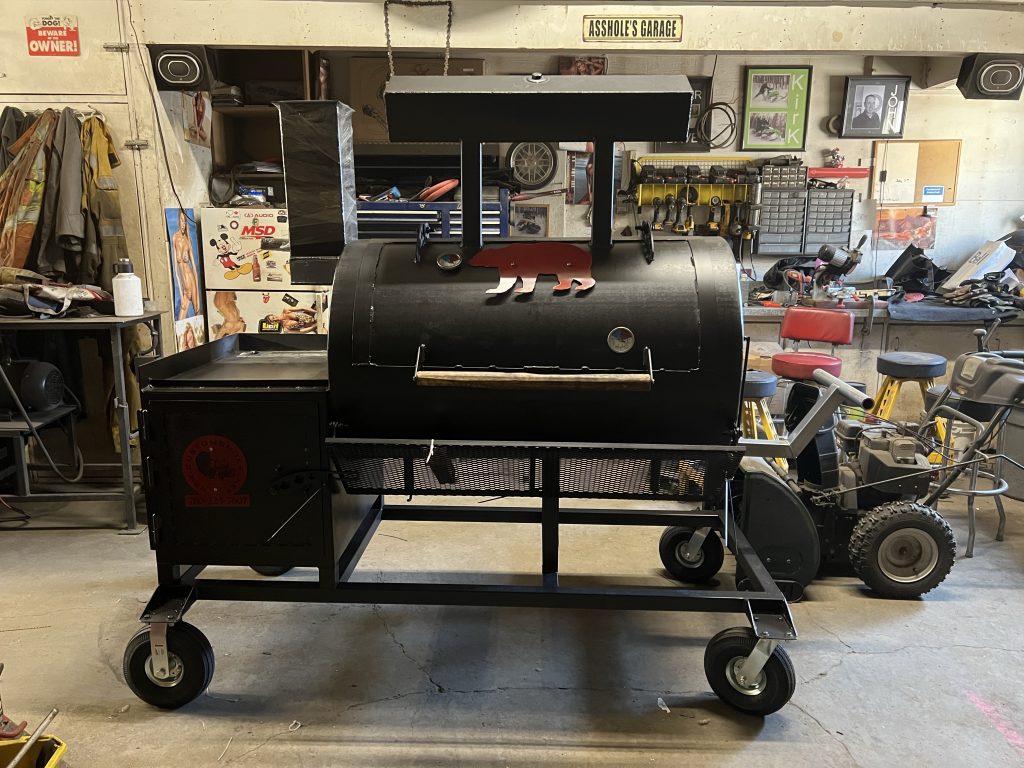
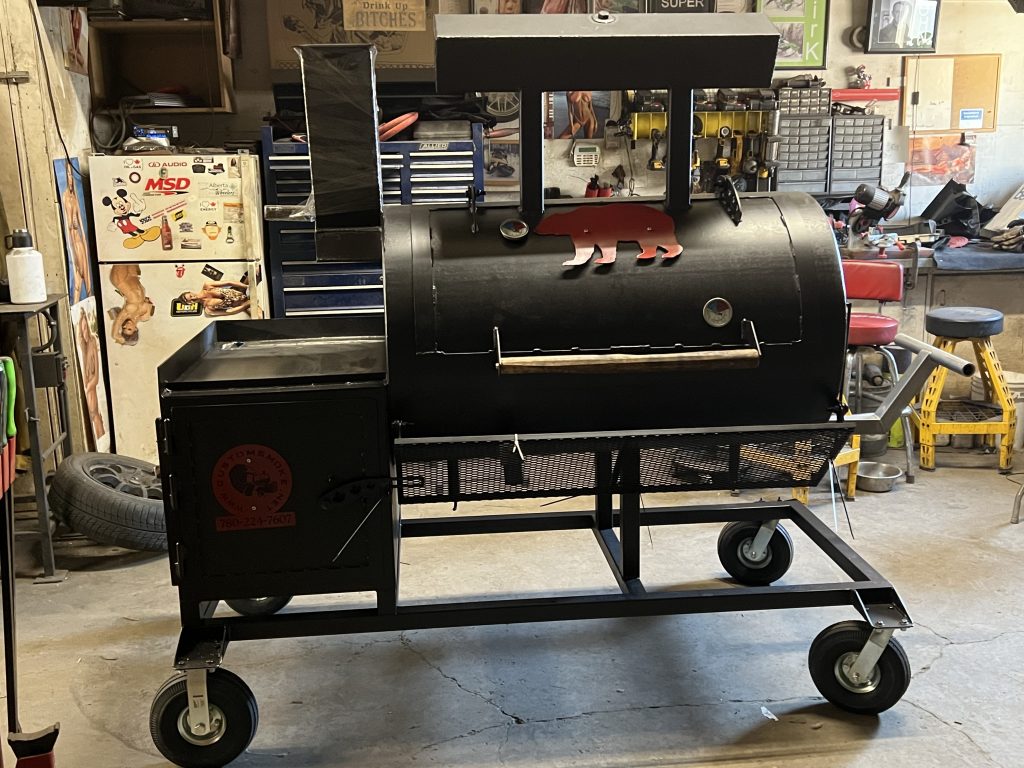
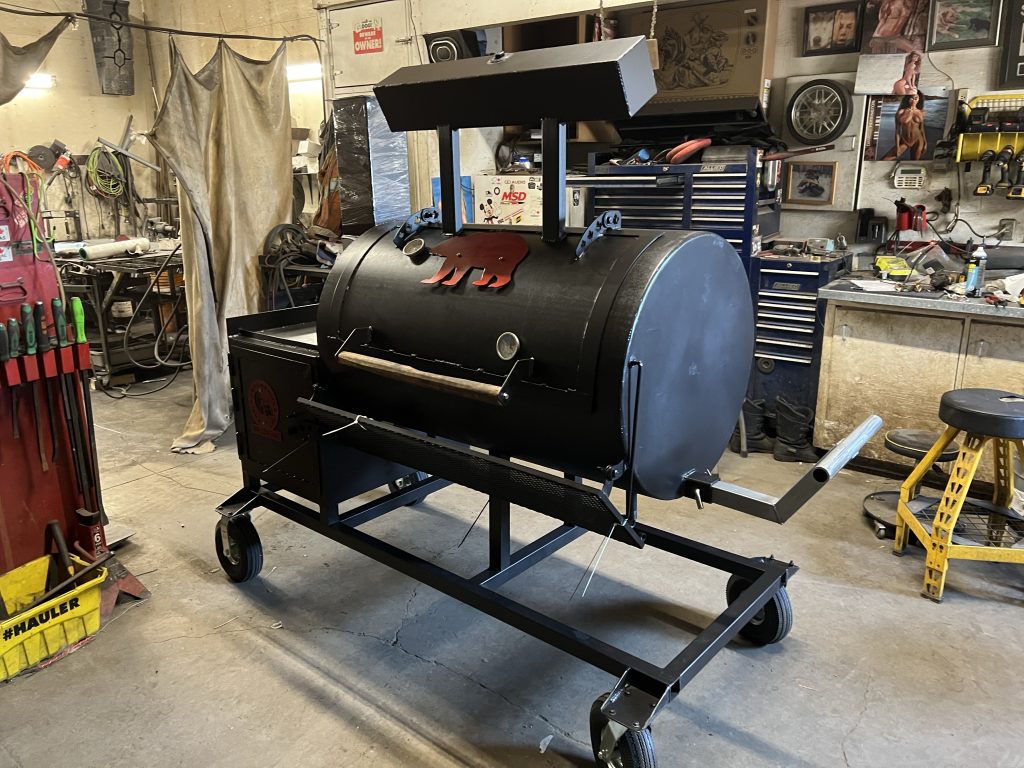
Painted applied and dry time is now all we can do, tomorrow badge up, temp gauges and wrap it up for transportation to Elkford BC.
Already to be wrapped and then transported to Downtown Elkford, BC! Happy BBq Season for Dave!